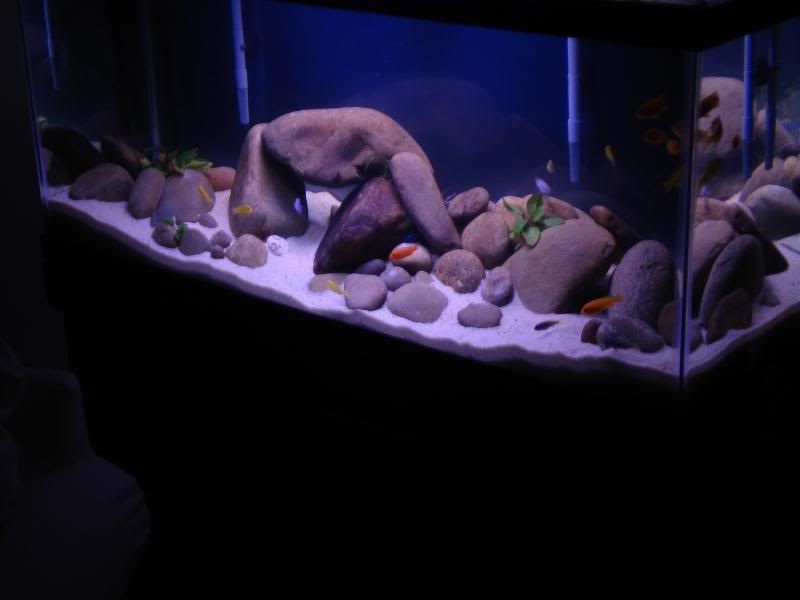
after i broke the aquarium down, donated all my cichlids back to B&b
I began taking inventory of the equipment i had and would need
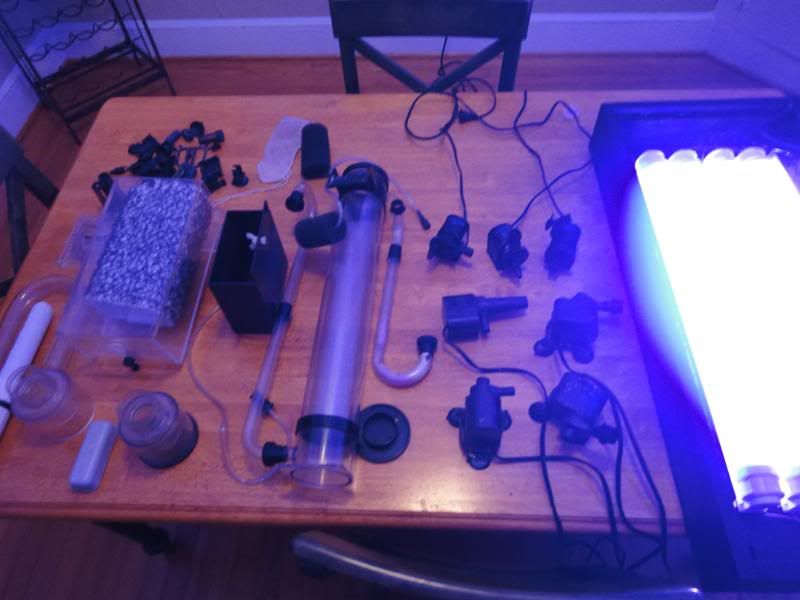
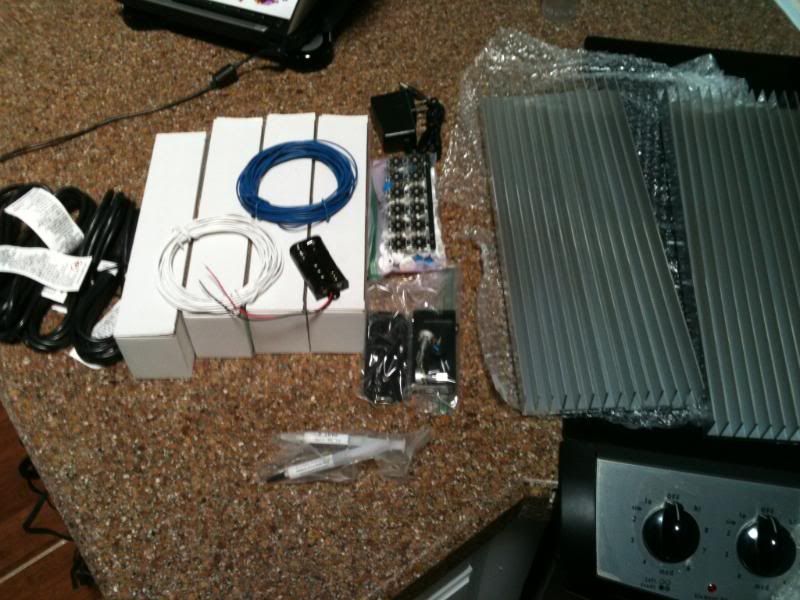
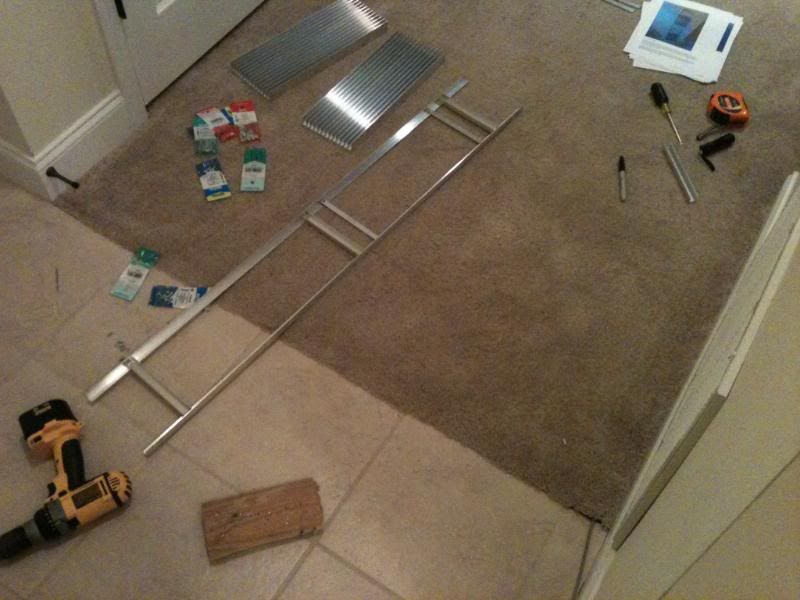
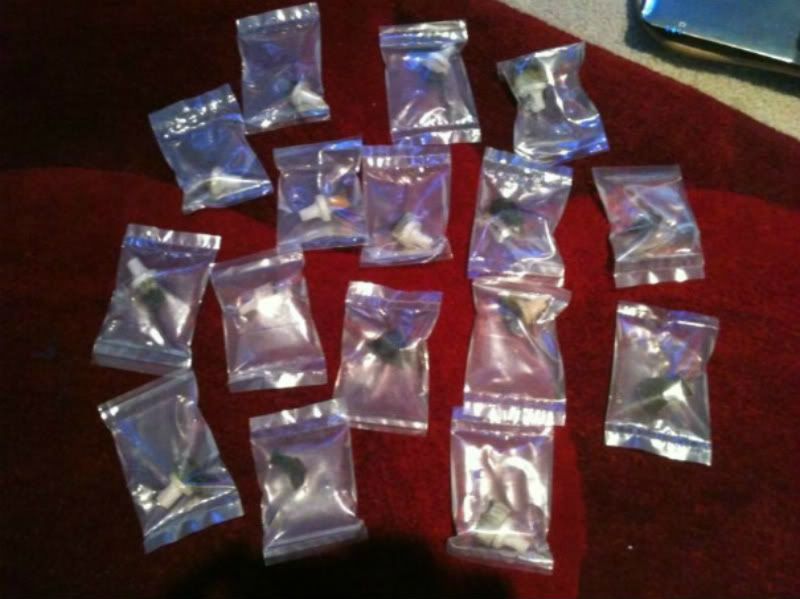
Just about every thing seen in the picture above has been replaced. It would have worked for my setup but i felt it was outdated so i spent a few bucks and upgraded everything. out of all this in the picture, i kept 2x 1200 maxijet powerheads and my vho ballast for the new light fixture yet to come.
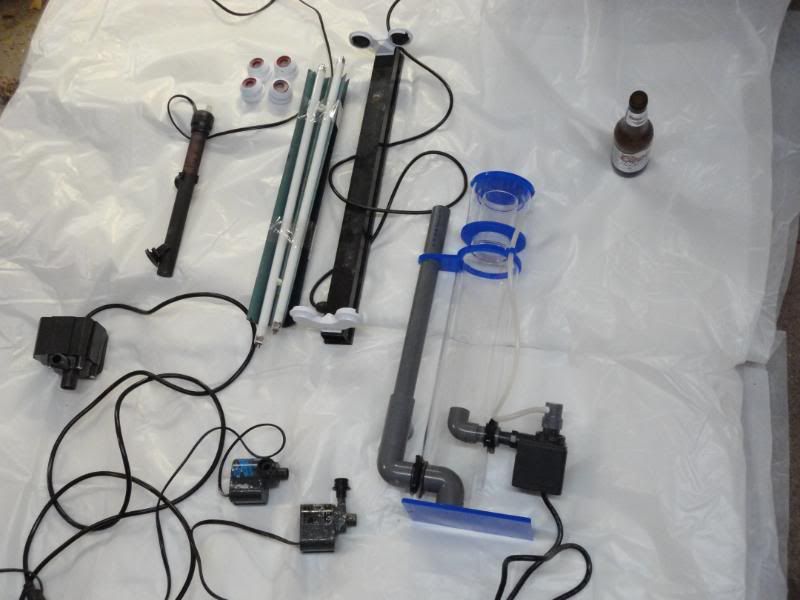
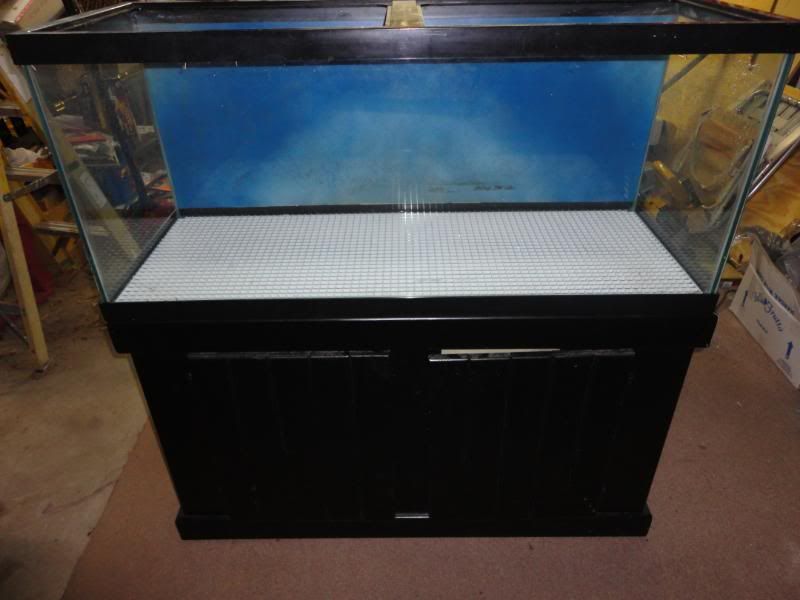
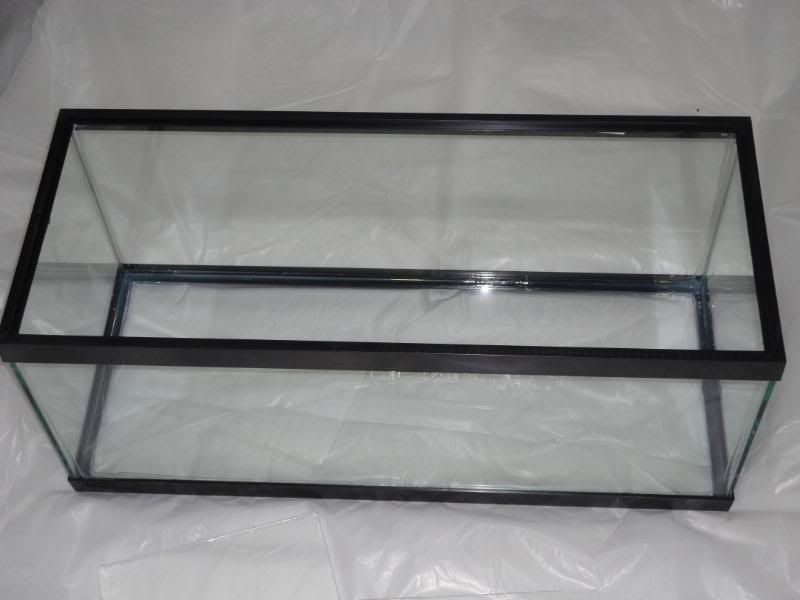
Here is a picture of some of the new stuff and my empty aquarium before i began my project
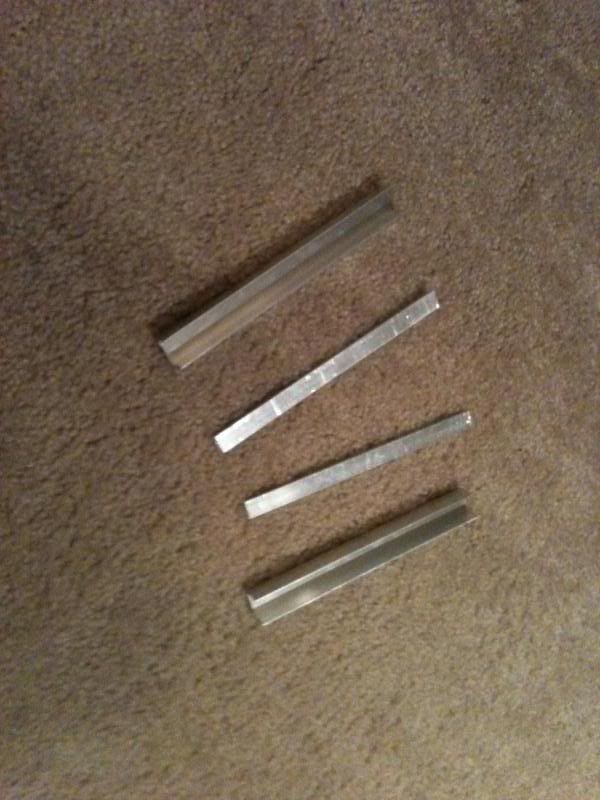
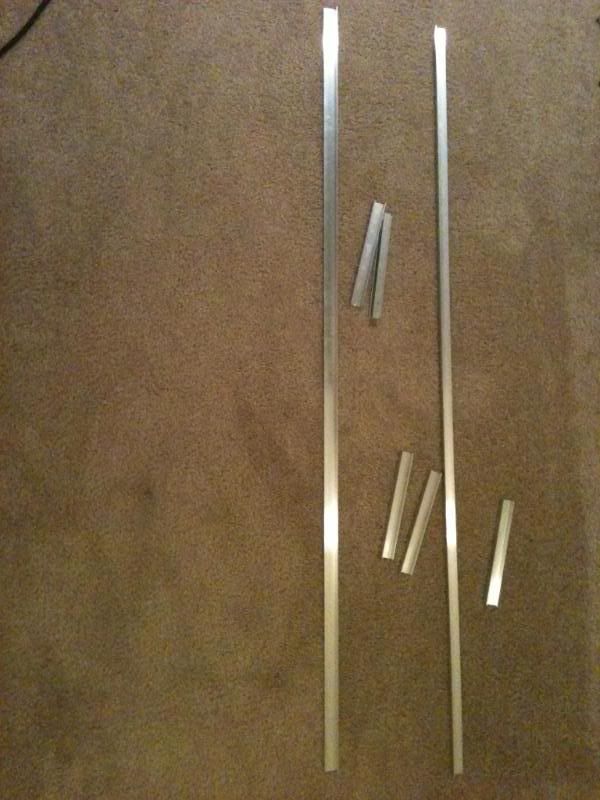
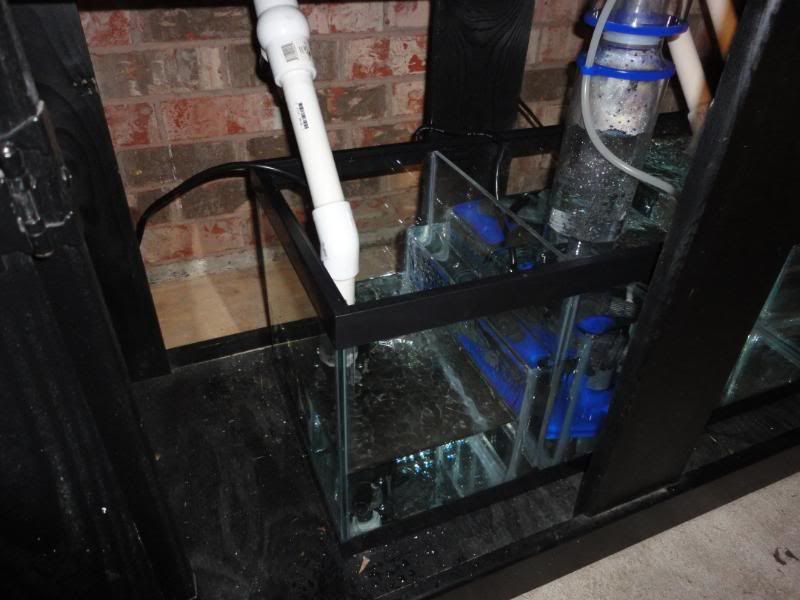
I constructed my sump out of a 20 gallon long aquarium and 1/4 acrylic panels purchased at lowes on.
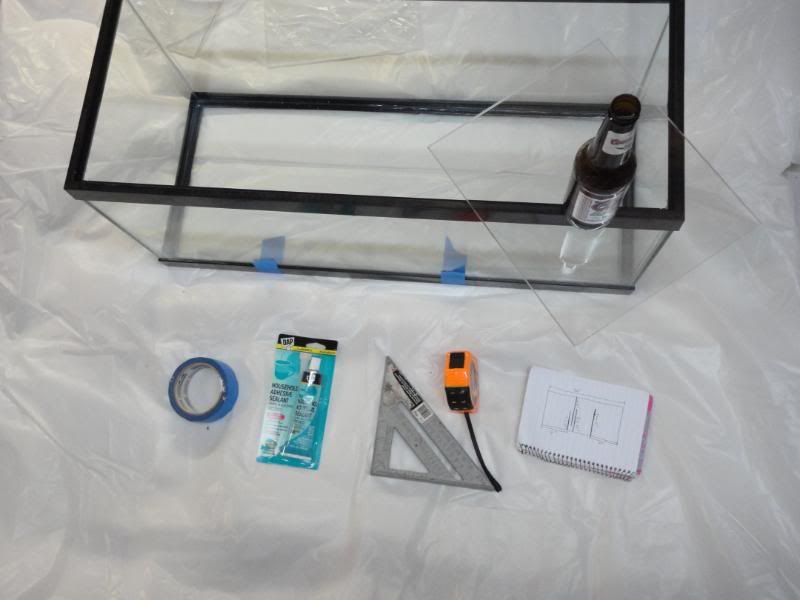
Make note of the old VHS tapes being used to measure out my 1" gaps between my baffles

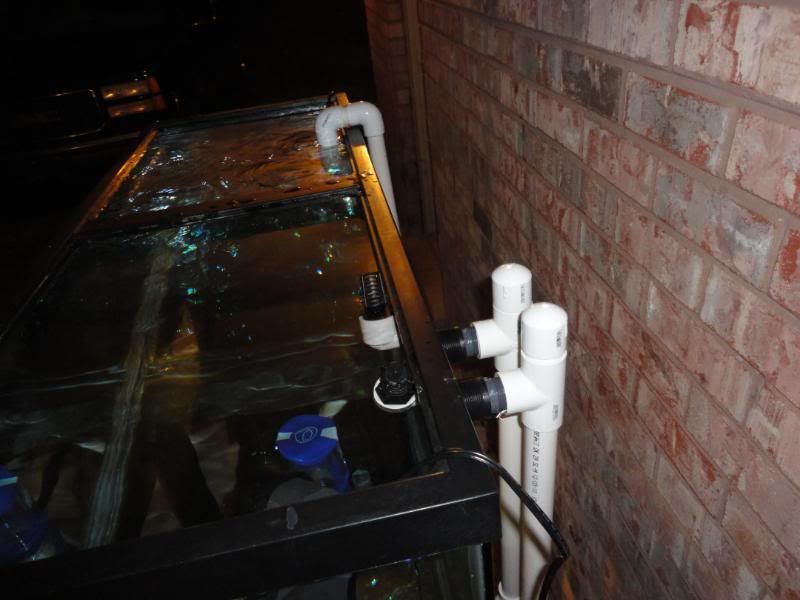
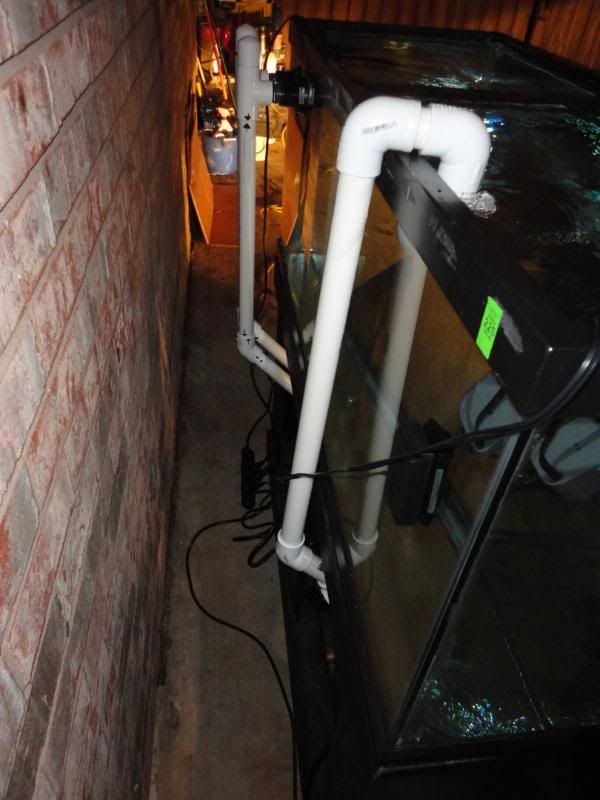
After letting the silicone cure for 24 hours, i did a "Wet test" to ensure myself there would be no leaks once i moved this thing into my apartment. The next day i began construction on my plumbing and overflows. I went with 2x 1" bulkhead over flows and 1x 1" return line pushed by a mag7 mag drive pump. Roughly after headloss, this gives me an average 500-650GPH through my sump. Heres a few pics of the "wet test"

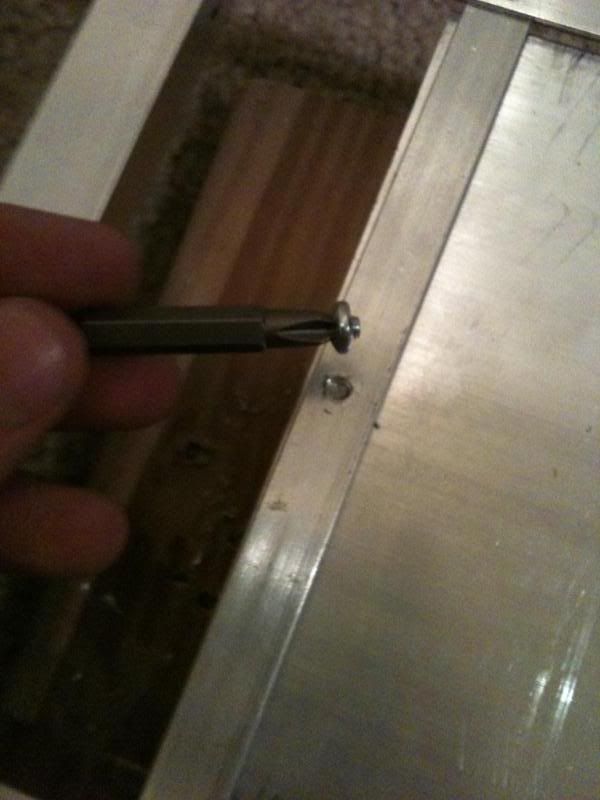
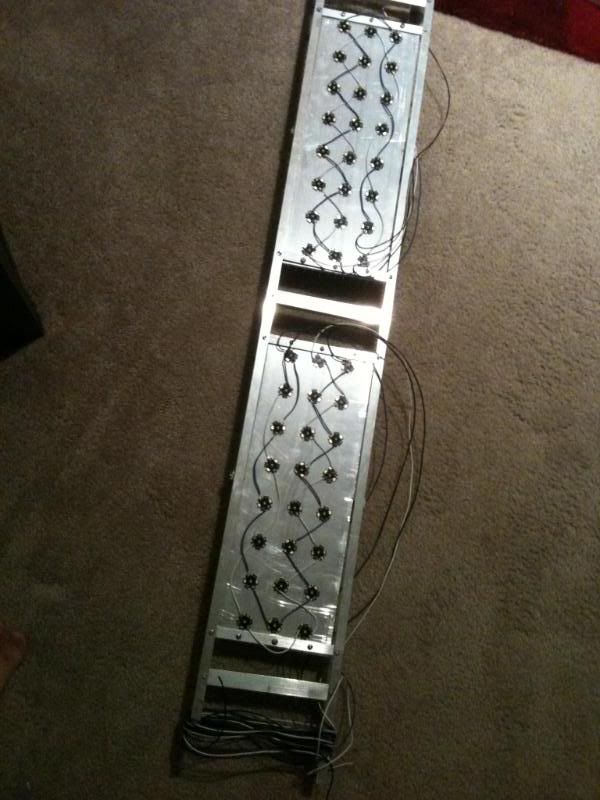
My cichlid setup had 2x glass tops and 1x standard 48" light strip that would not work for my reef setup simply due to the fact, the glass would block out much needed light and the lighting itself was not powerful enough which brought me to my next project. My custom DIY canopy. Unfortunately i didnt take any pictures until after i built it but the frame is built out of pine 2x2"s and skinned with pine plants and molding.
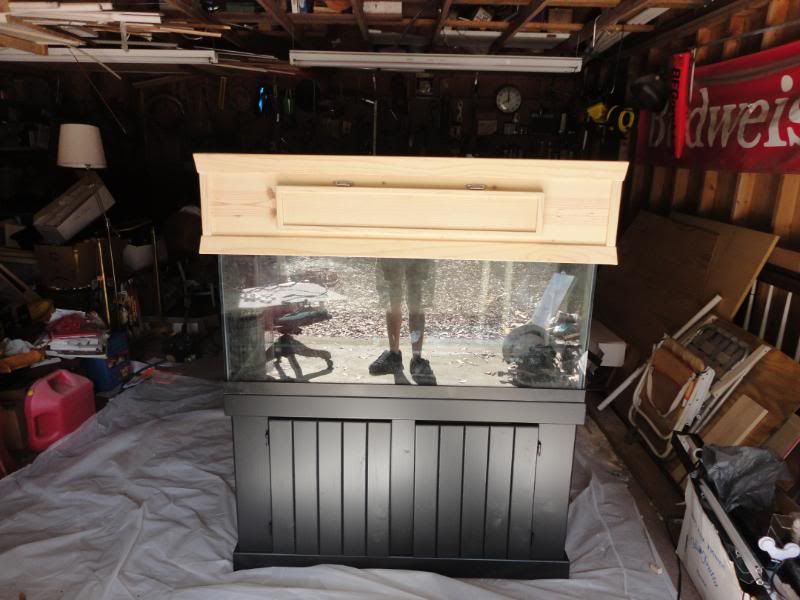

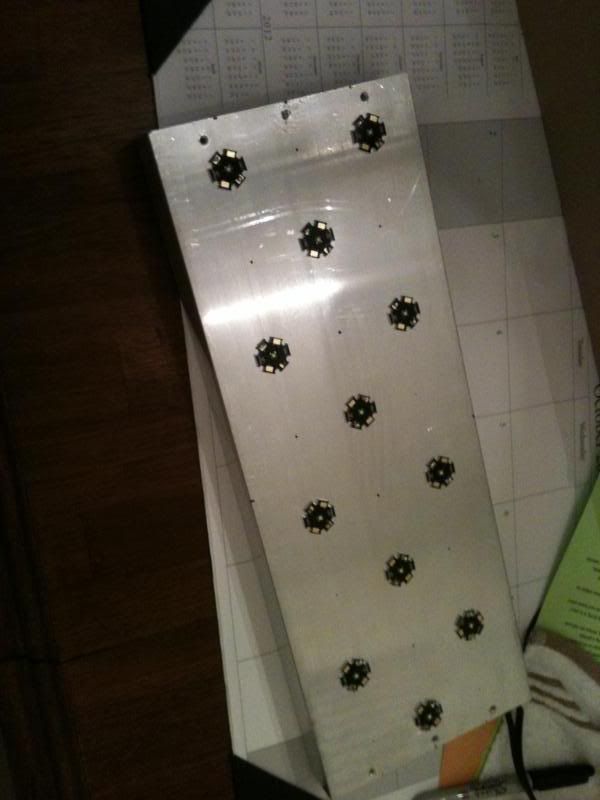
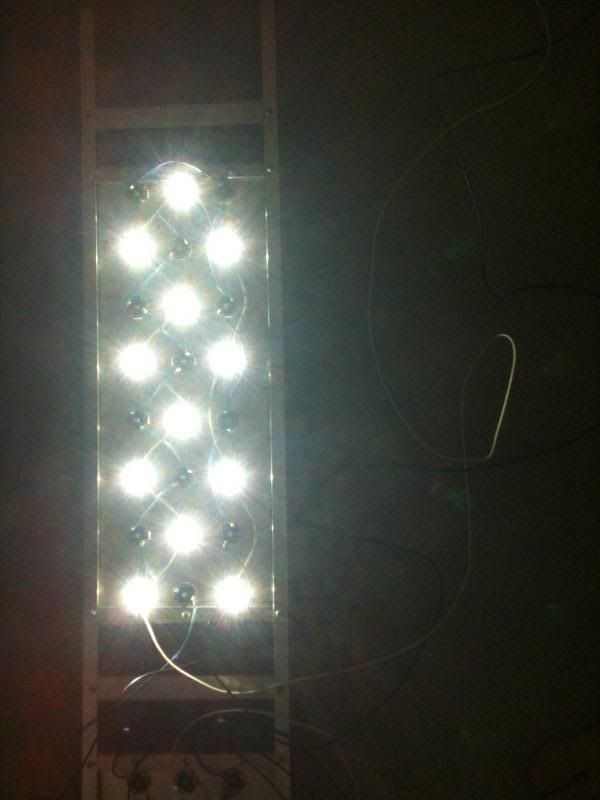
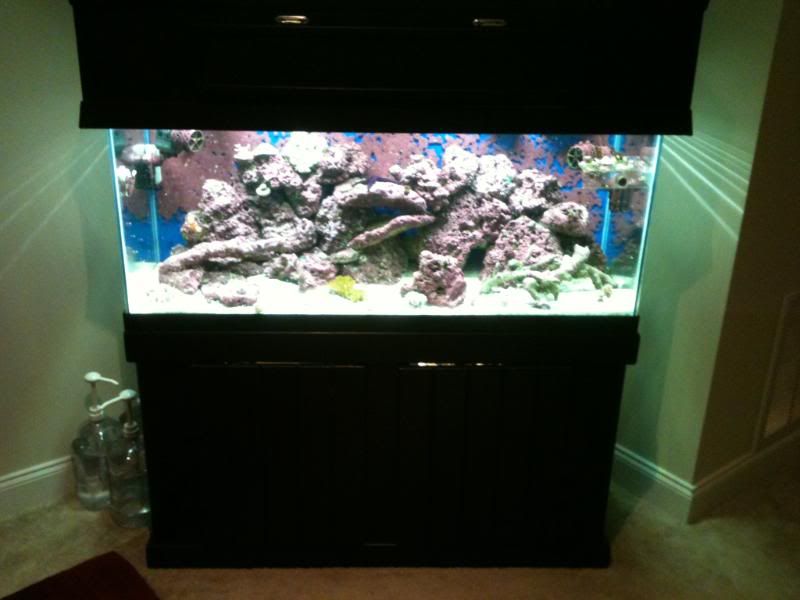
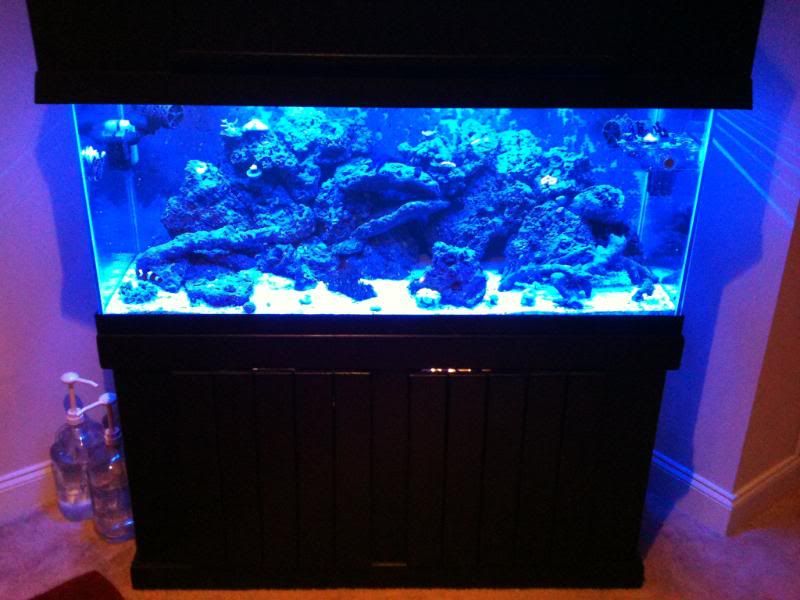
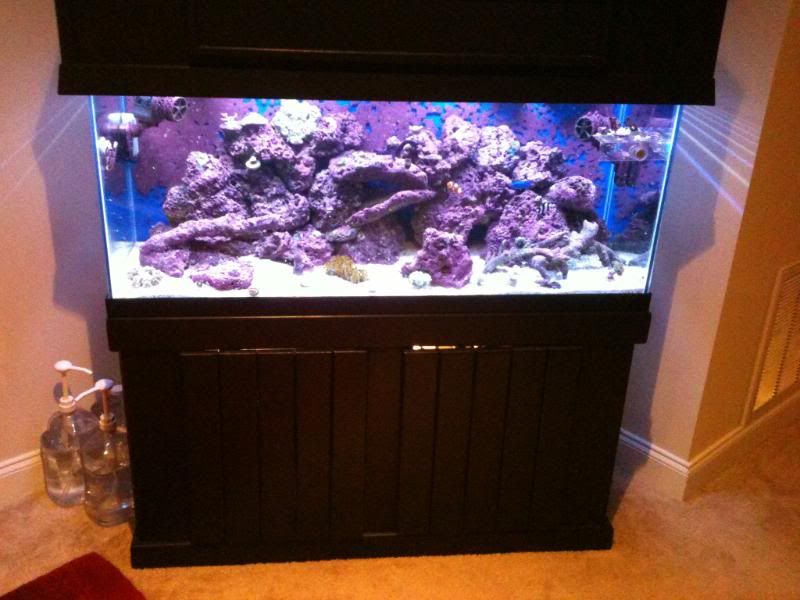
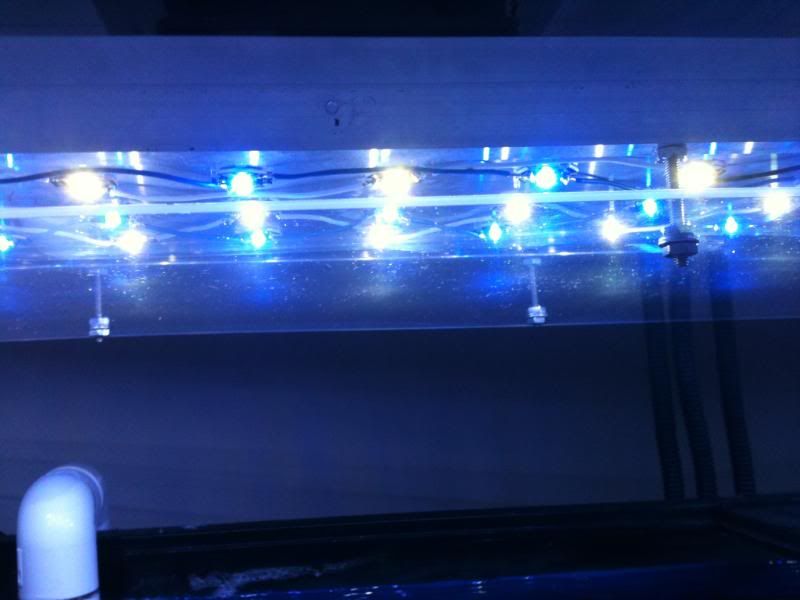
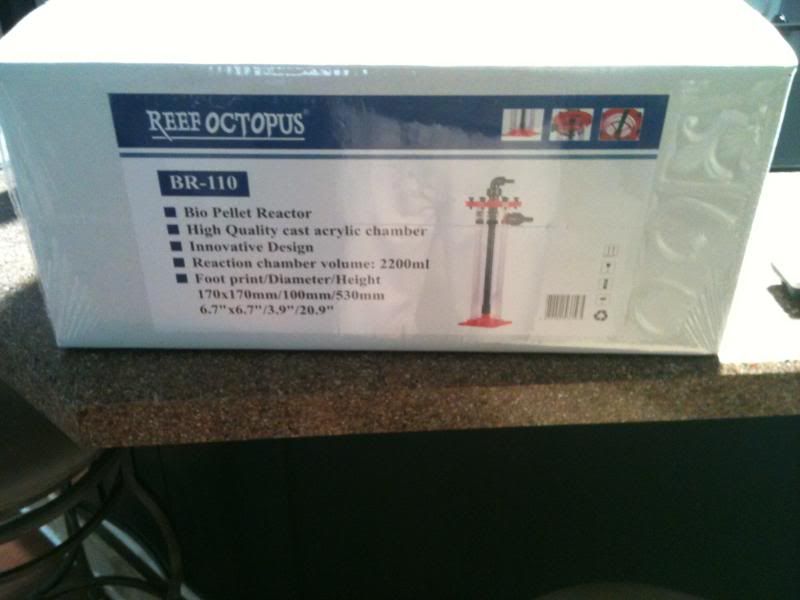
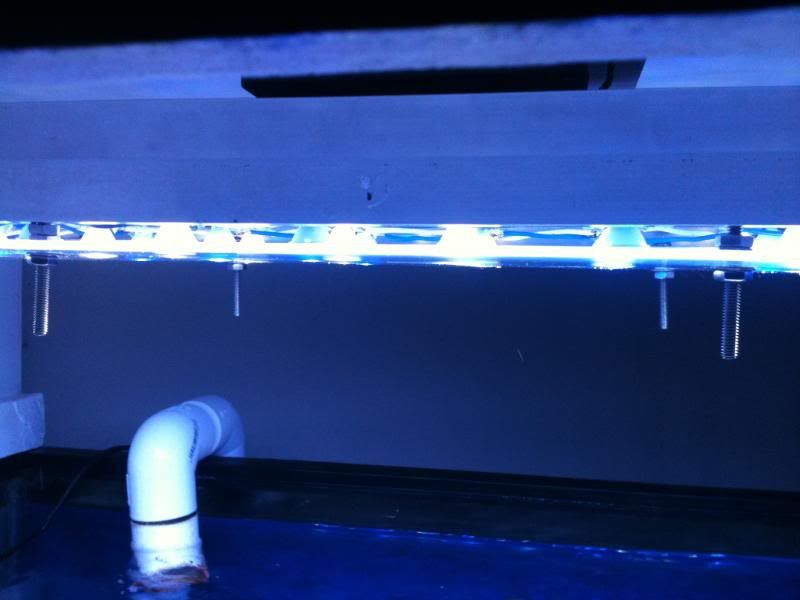
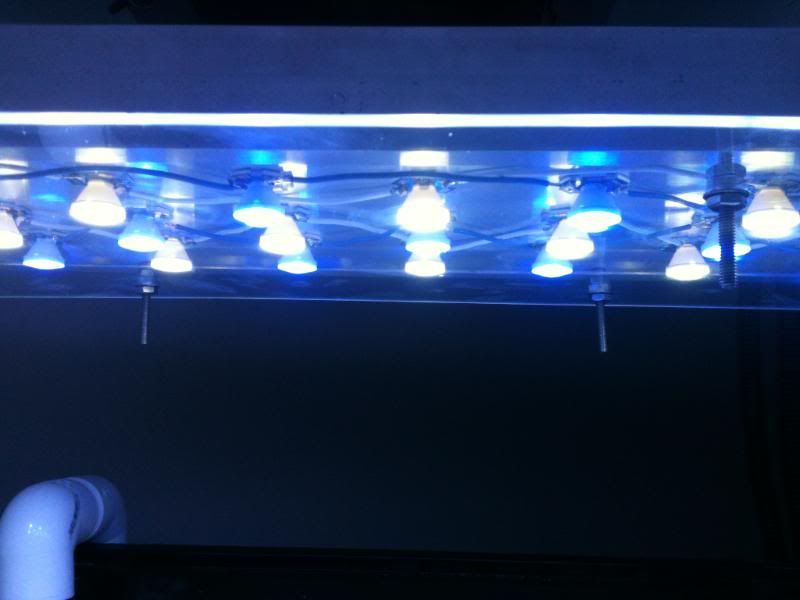
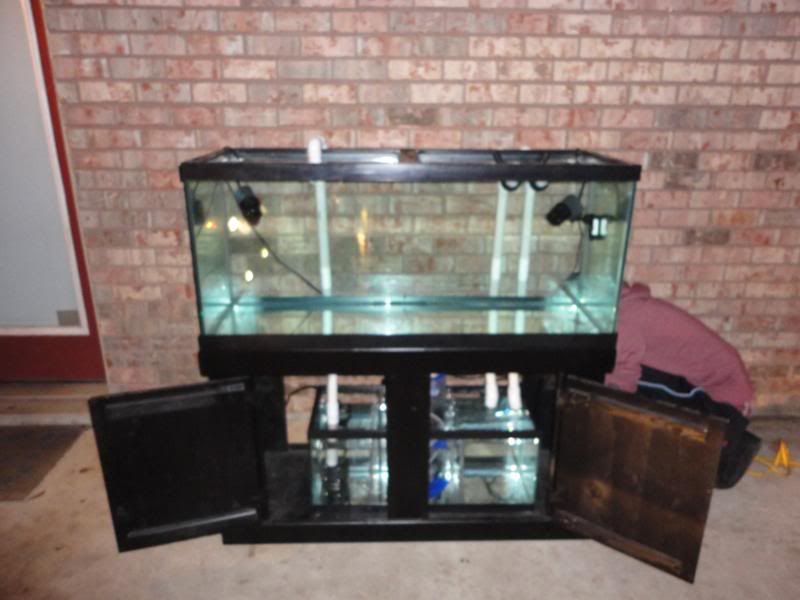
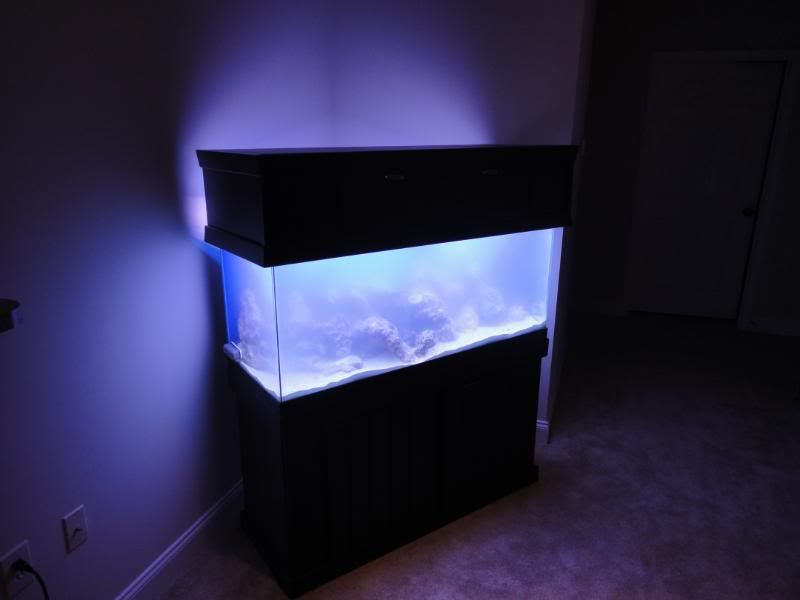
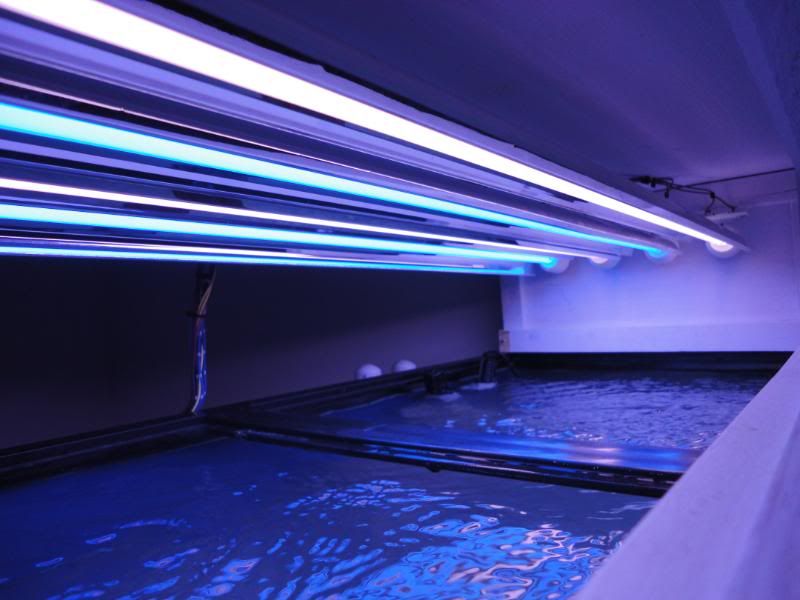
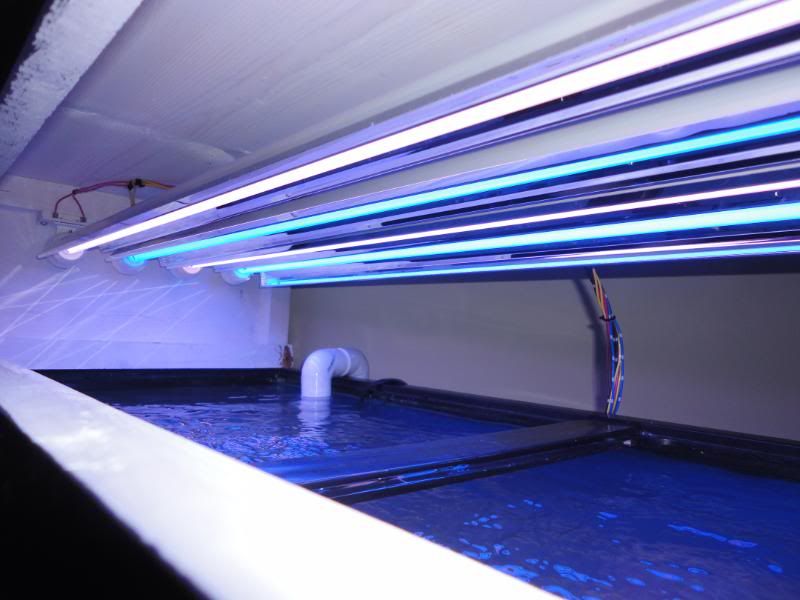
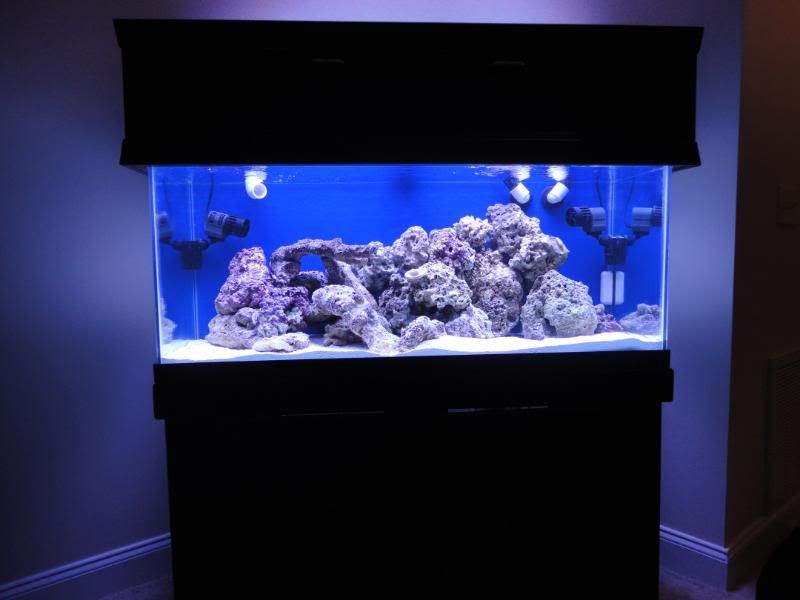
Like stated earlier, i decided to keep my VHO ballast and bought t5 endcaps and standoffs from progressive marine along with 4x bulbs and 4x reflectors. My new protein skimmer also came from progressive, its rated for a 125g and can be seen in the inventory pictures above. This was all mounted in my canopy after i painted everything. A few weeks later (Beginning of Feb.); I moved this monster up 3 flights of stairs into my new apartment. I purchased 125+ pounds of live rock from tj at innerarity reefs in pensacola. He by far beat everyone elses prices in live rock and also in quality. Heres the tank the first night it was set up and the finished canopy.
with lights on:
and the following day:

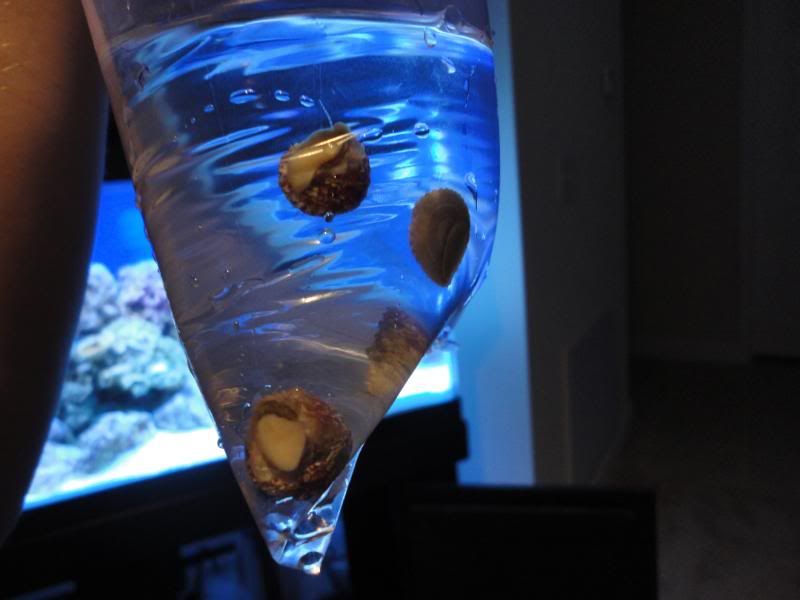
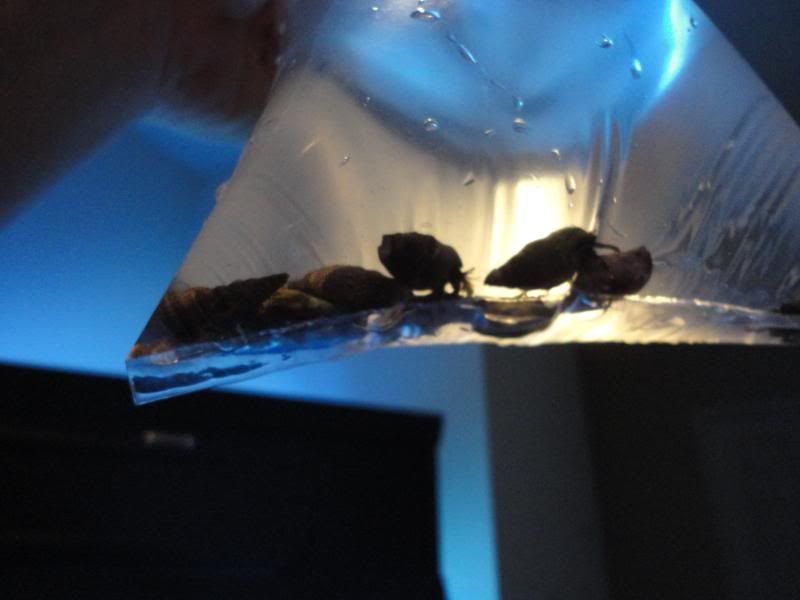
After my cycle (which lasted less than a week of initial setup), i added a few turbos and hermits for my cuc
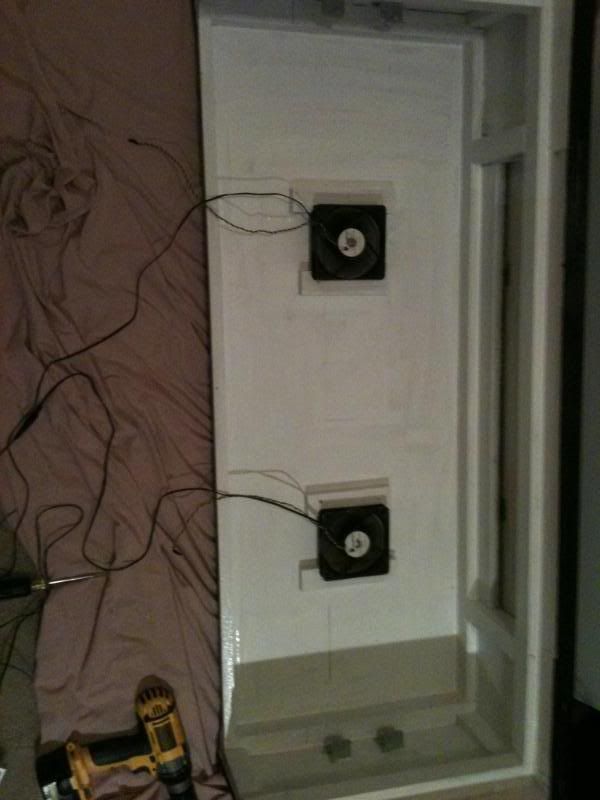
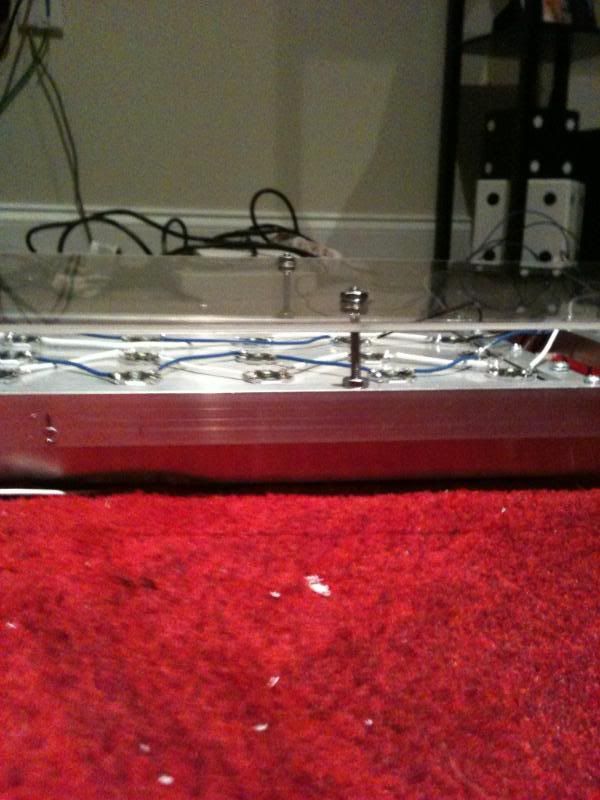
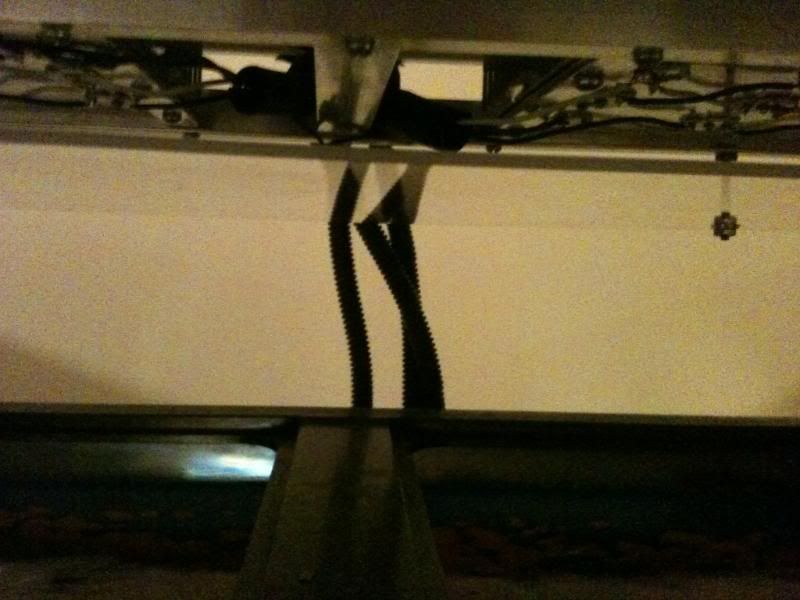
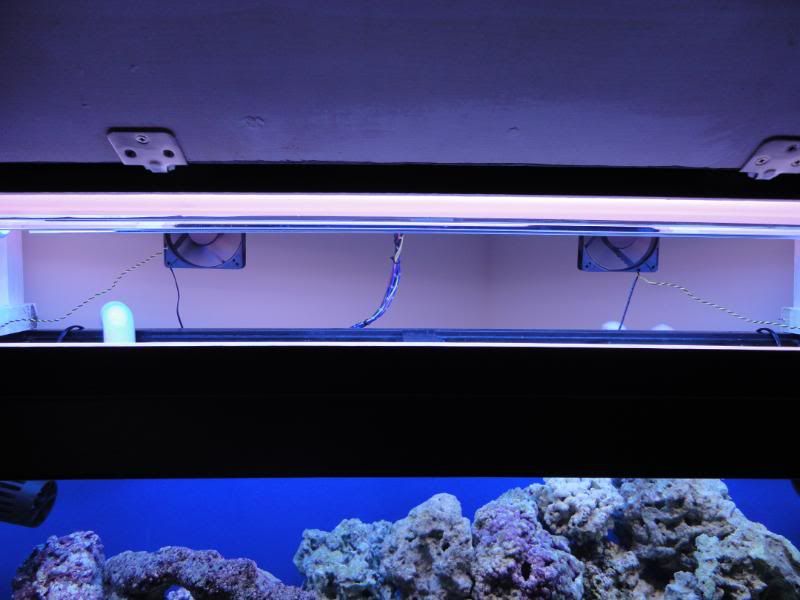
I also bought 2 cooling fans from progressive marine to help with the heat from the lamps, my tank temperature would bounce around from 78 to 84 before i added these, now it stays within around 77-79.

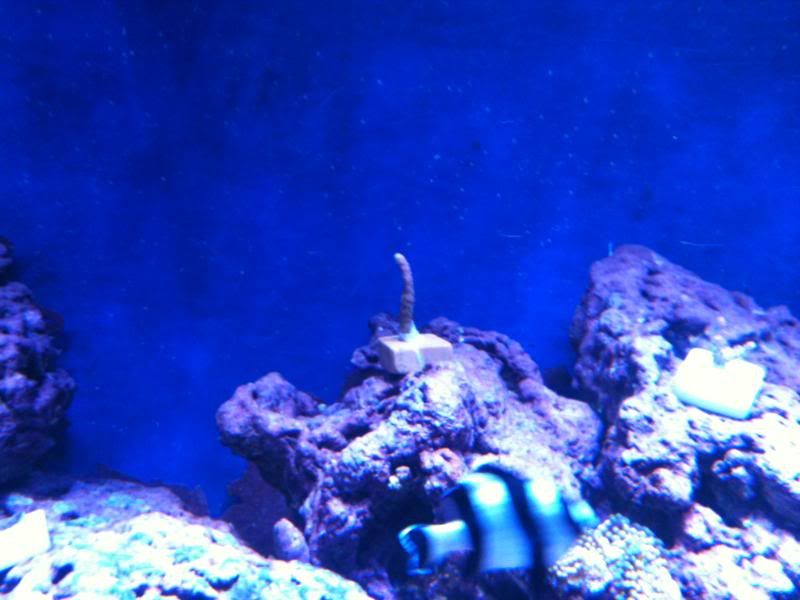
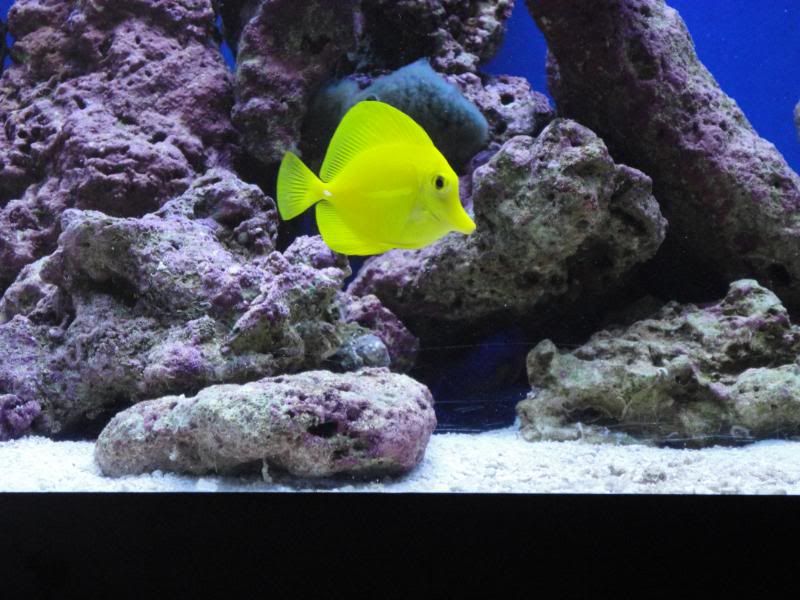
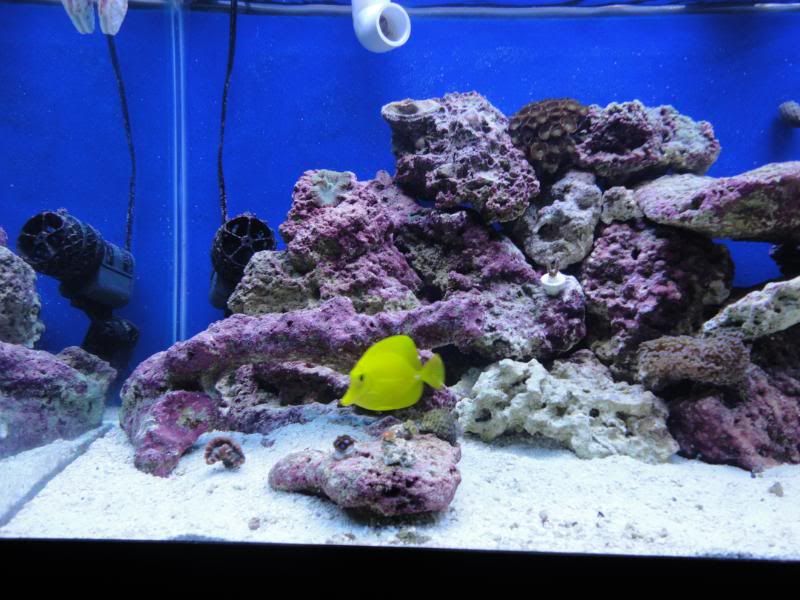
and so the tank remained like this for another 2 weeks before adding my first fish. Hes a yellow tang that was given the name Big Bird
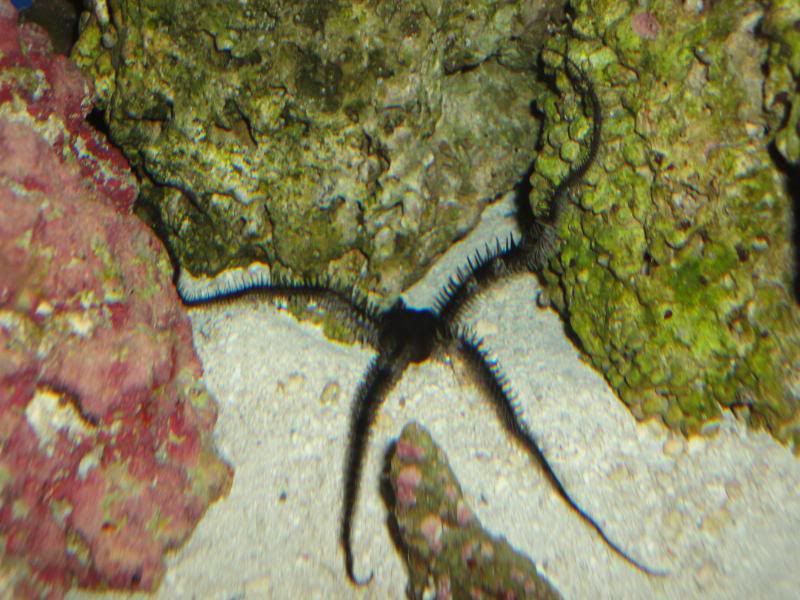
few days later, i added a brittle starfish named medusa
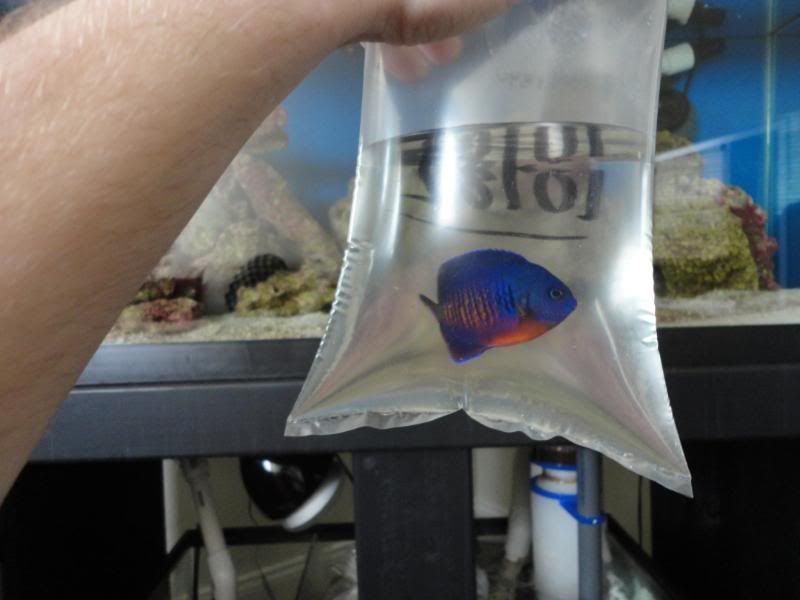
I gave it a few weeks before adding anything else but finally gave in when my coral beauty named barney was introduced.
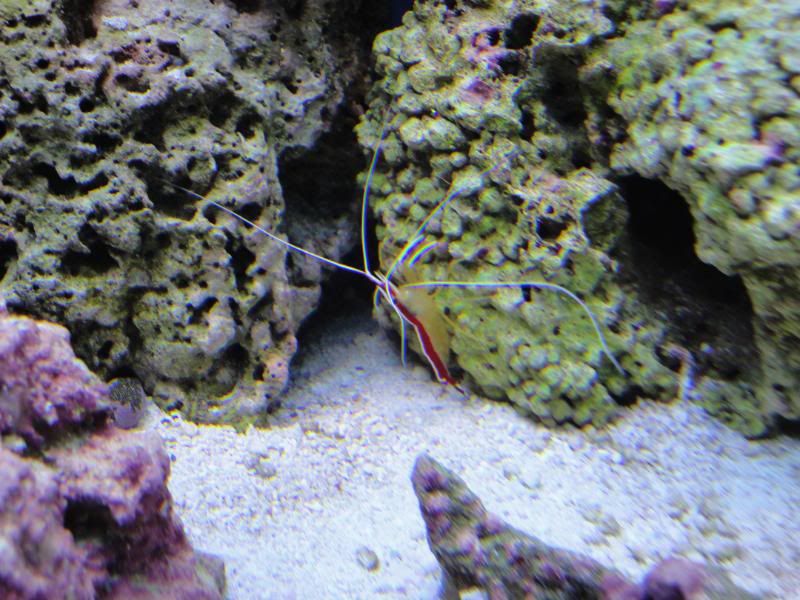
and fred the cleaner shrimp
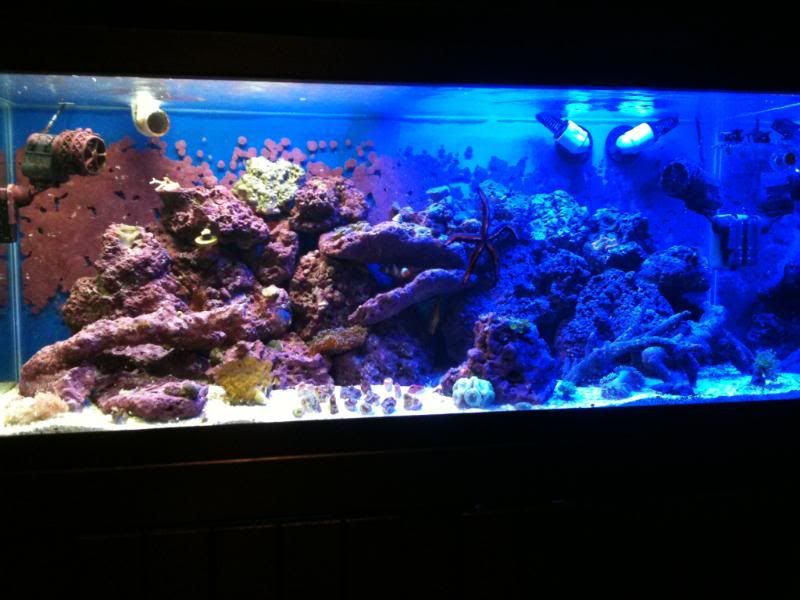
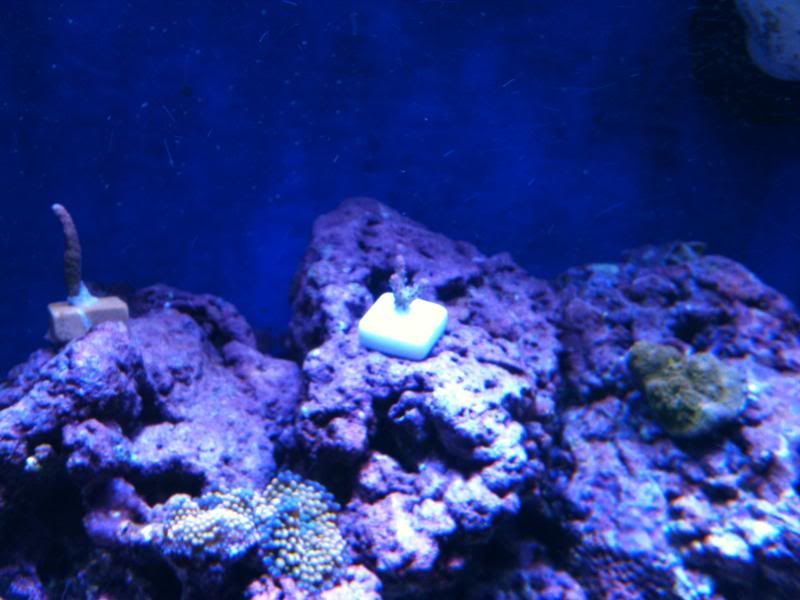
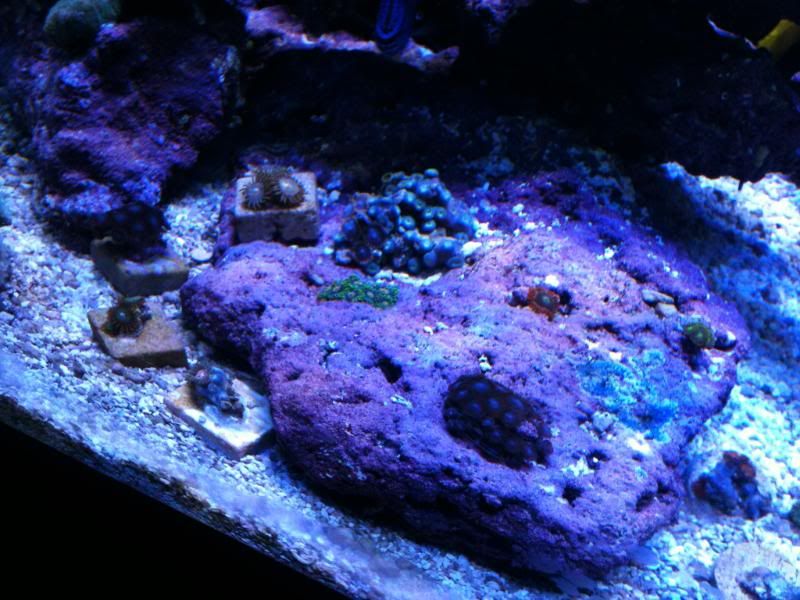
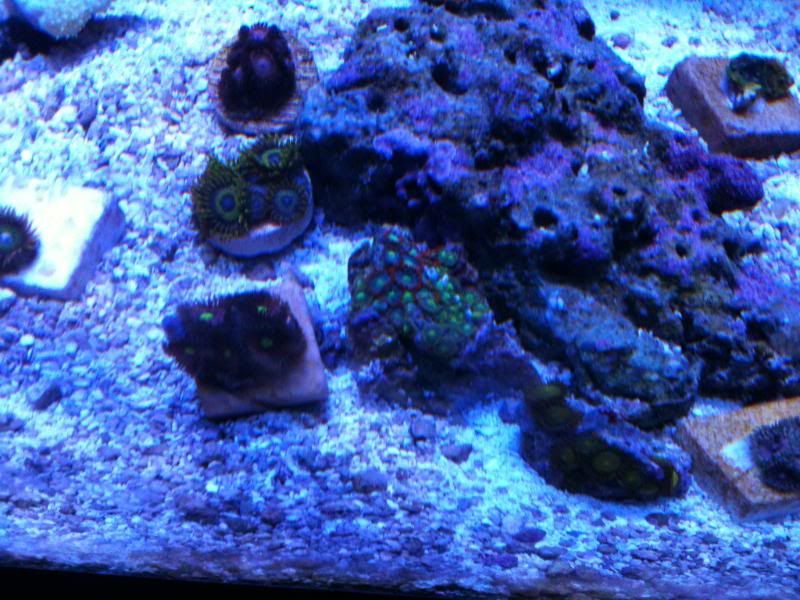
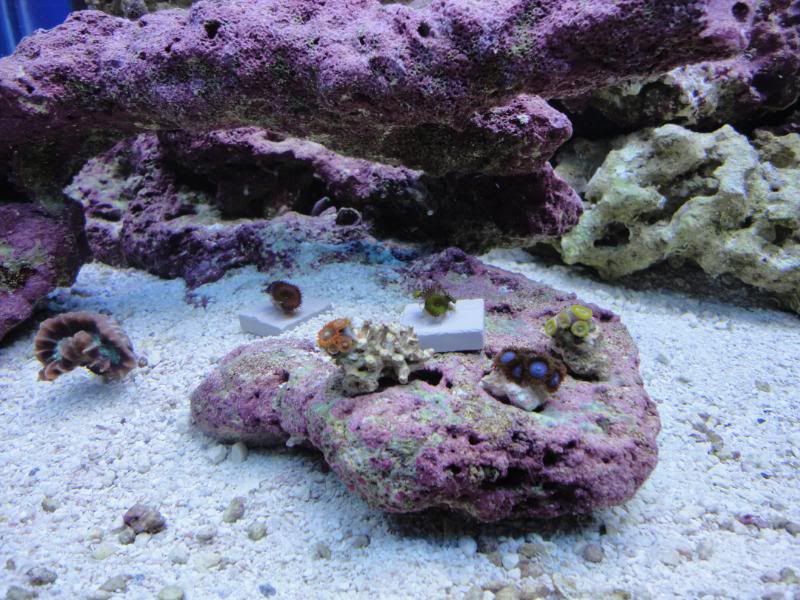
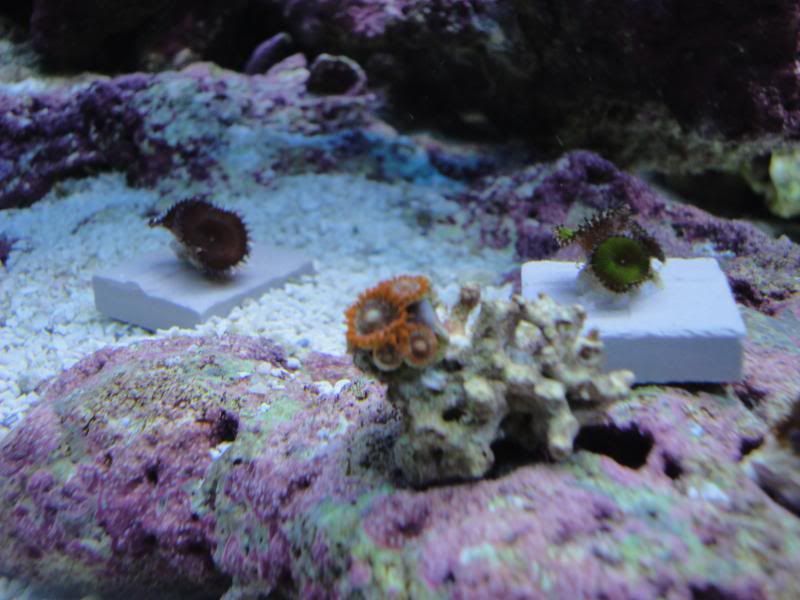
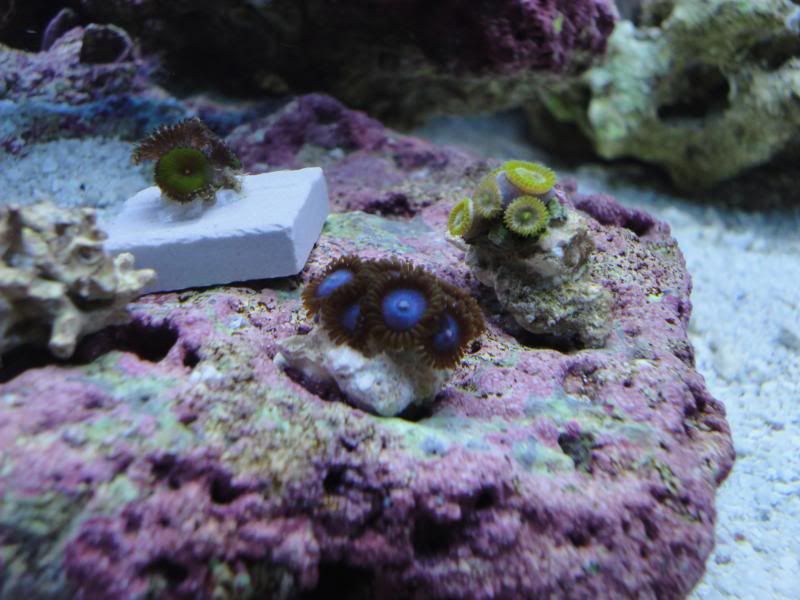
The aquarium stayed like this for a whole month before i decided to add corals. During that time, i dosed with reef code a and b to increase my calcium and alk levels They are now at 480ppm calc and 9dkh alk. Once i decided to get a few corals, i added a green button polyp and hammer coral from B&B and snagged a few coral frags from andy (andy4499). He gave me a great deal on a few zoas, neon green candy cane, green star polyps, birds nest branch, frogspawn, duncan, and chalice. Also, zach (redpheonix) hooked me up with a few frags as well a few days later; more zoas, red and green candy cane, acro, and a beautiful rock anemone that went MIA... which brings me to where i am now. I searched high and low for the missing anemone but couldnt find it and one thing i hate doing the most, is moving rocks because i can never stack them back the way i had them. So i decided to redo my rockwork.
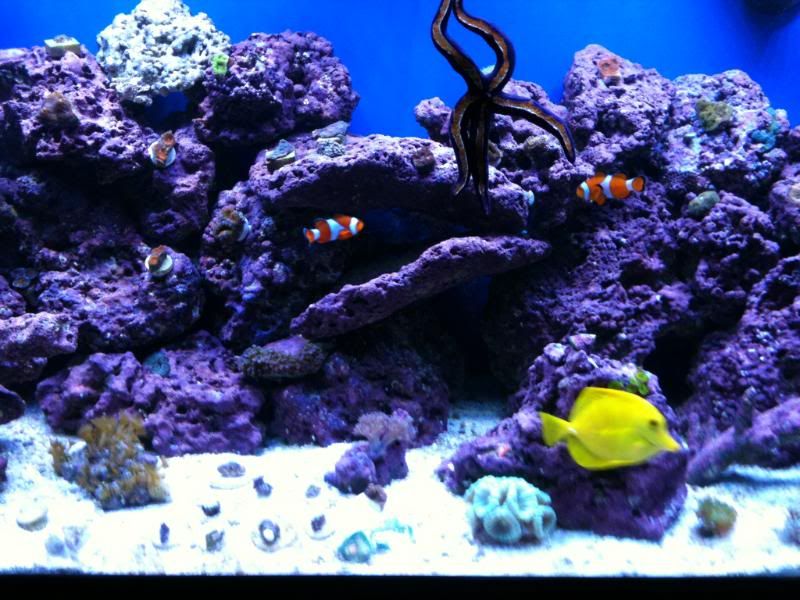
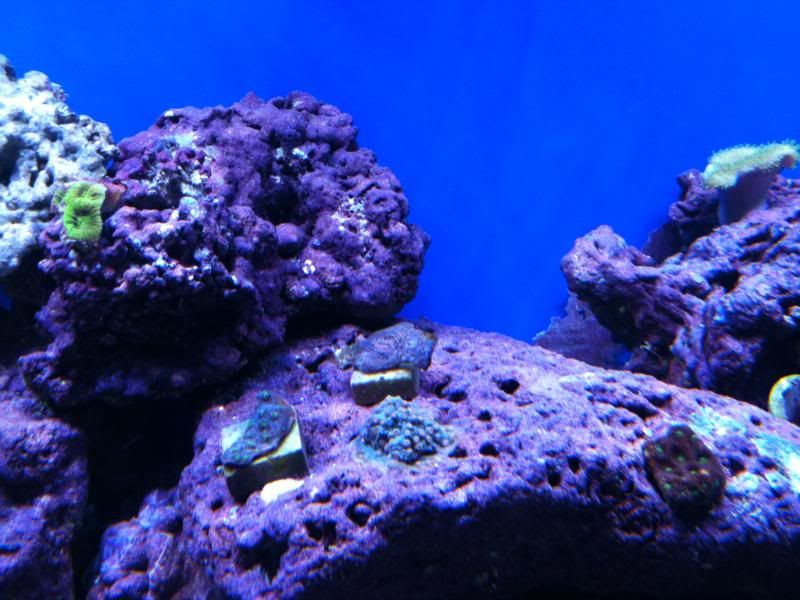
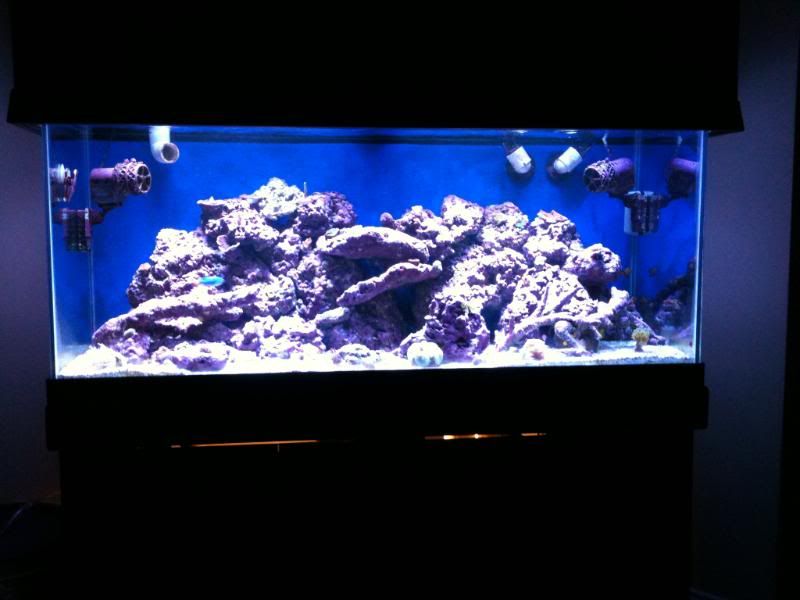
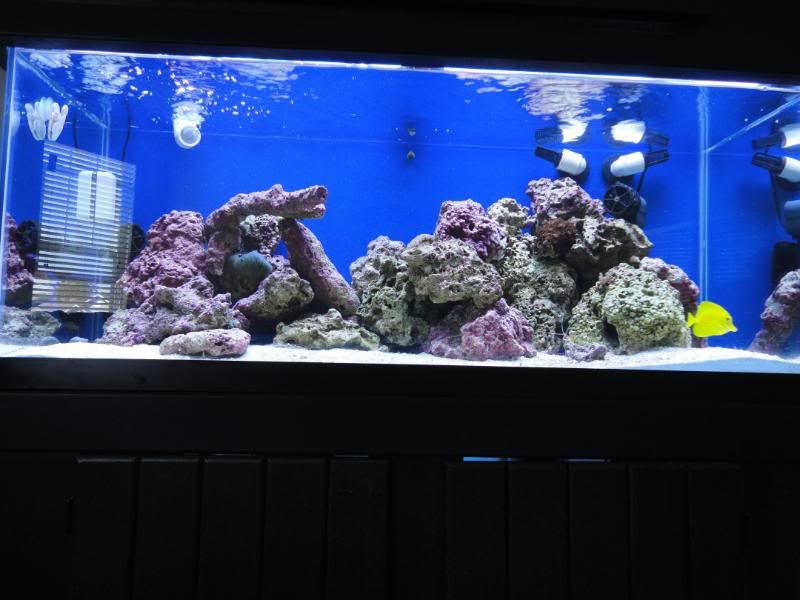
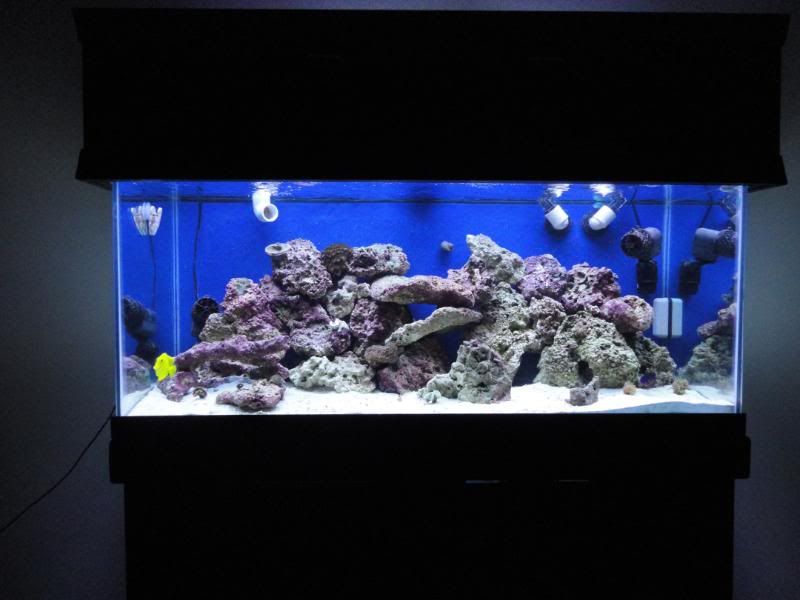
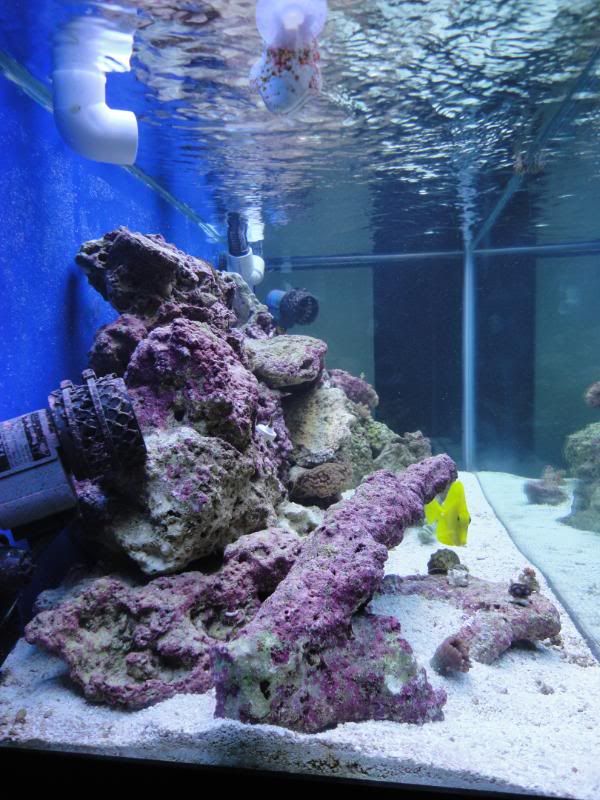
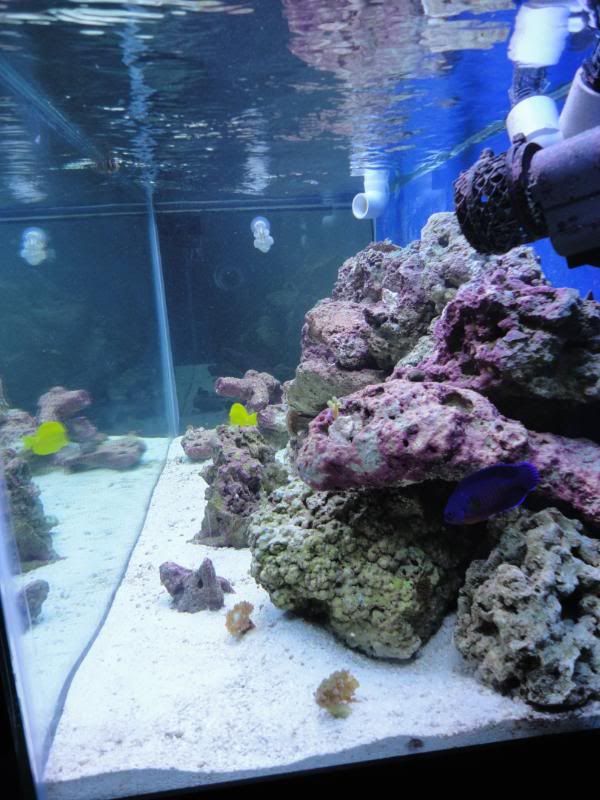
This is the new aquascaping. It gives my fish more swim room, a better wall to showcase corals, and lots of nooks, caves, and crannies for fish to hide in and swim through.

I bought 2 chromis fish about a week ago but they were picked on heavily by barney (the coral beauty) so i ended up trading them to zach (redpheonix) for a purple death paly frag and nuke green paly frag.
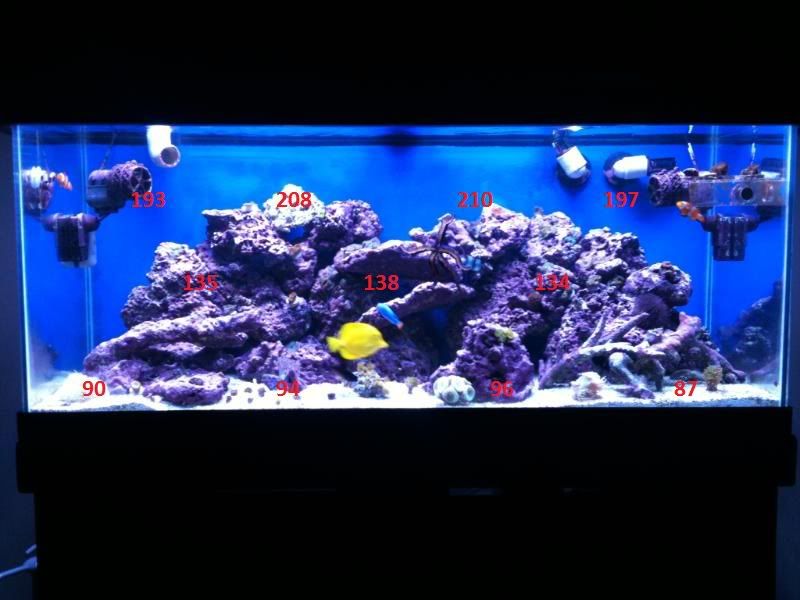
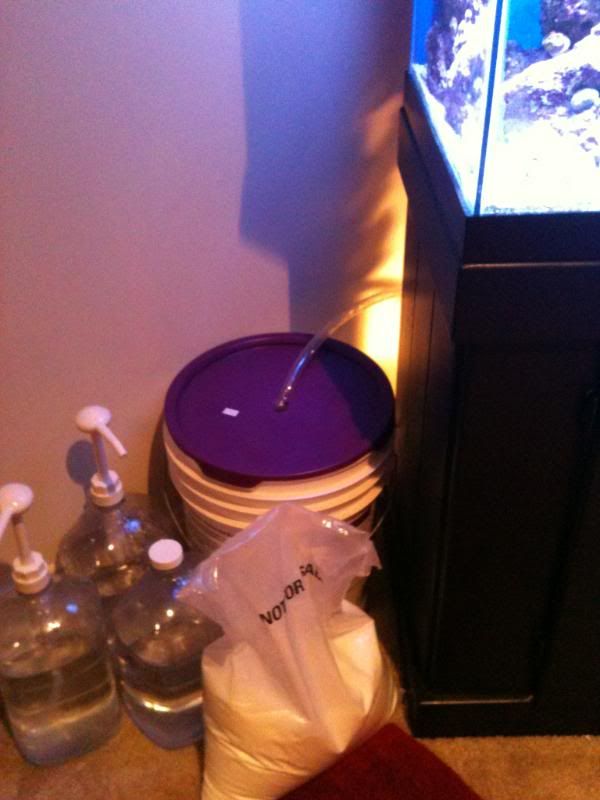
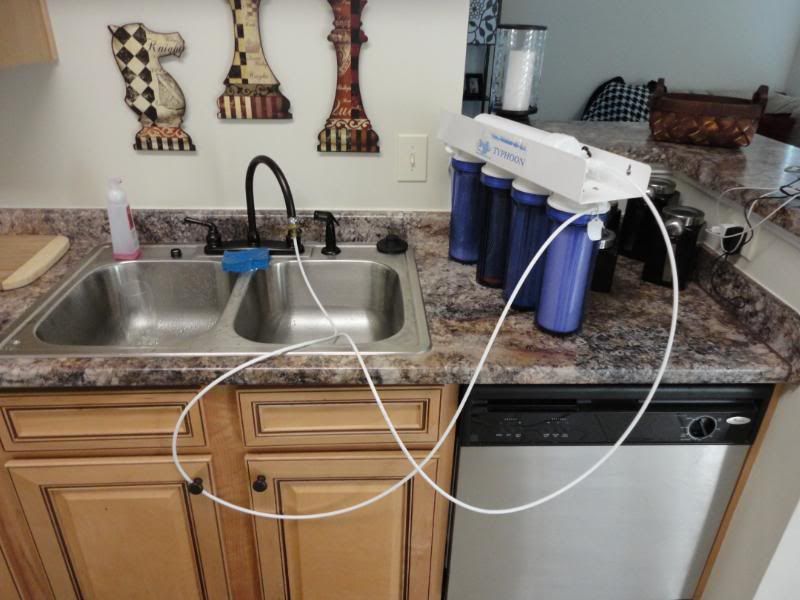
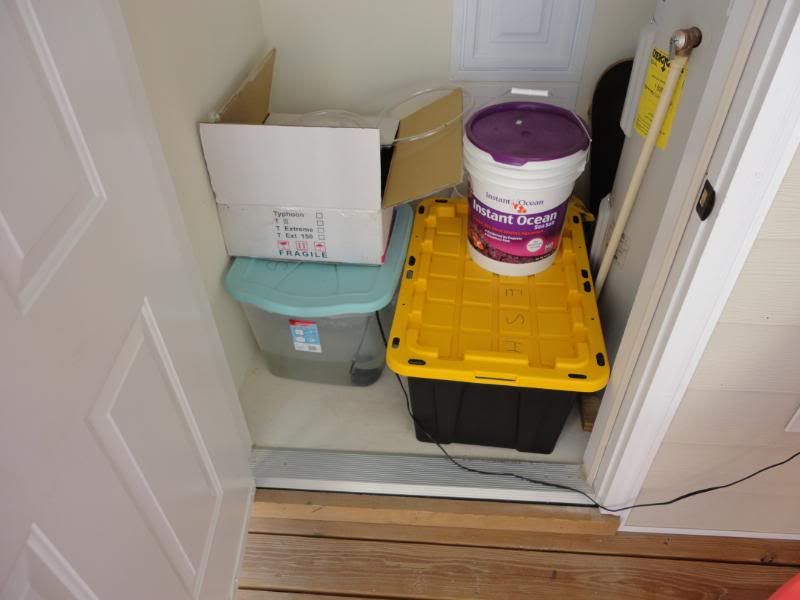
As for maintenance, Im doing 2x 15gallon water changes a month, maintaining calc/alk levels around 460-500 & 8dkh-10dkh, and usual water tests (ph, ammonia, nitrates, nitrites, and phosphates). I have a 5stage ro/di unit for making water. Since im in an apartment, i cant install an auto top off system so i have to store water in bins in my storage space and because i cant tap into the water line with the unit, i hook it up to my kitchen facet when needed. Heres a picture of my ro/di and storage.
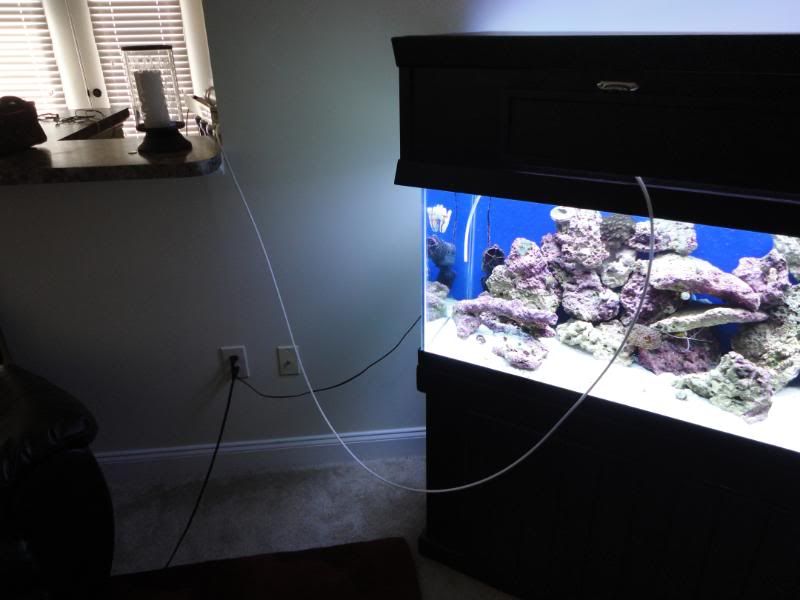
outside storage for equipment, fresh water, and saltwater.
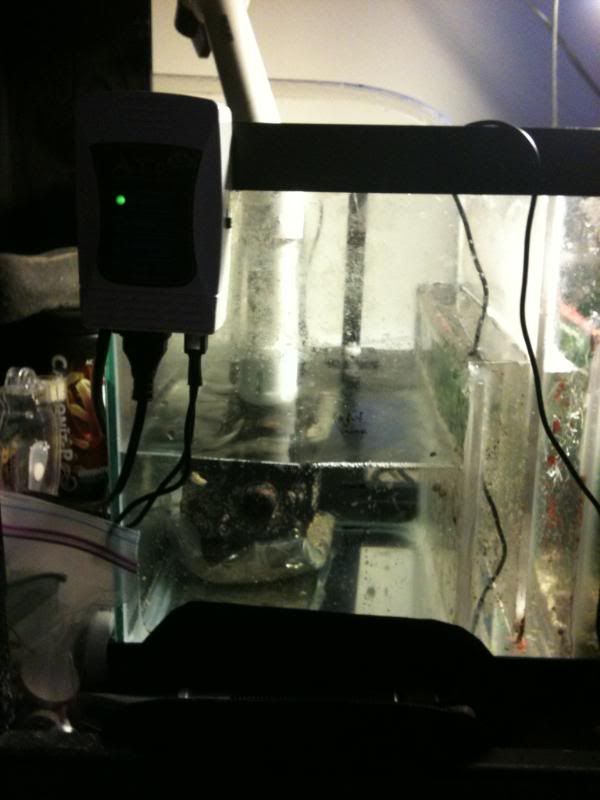
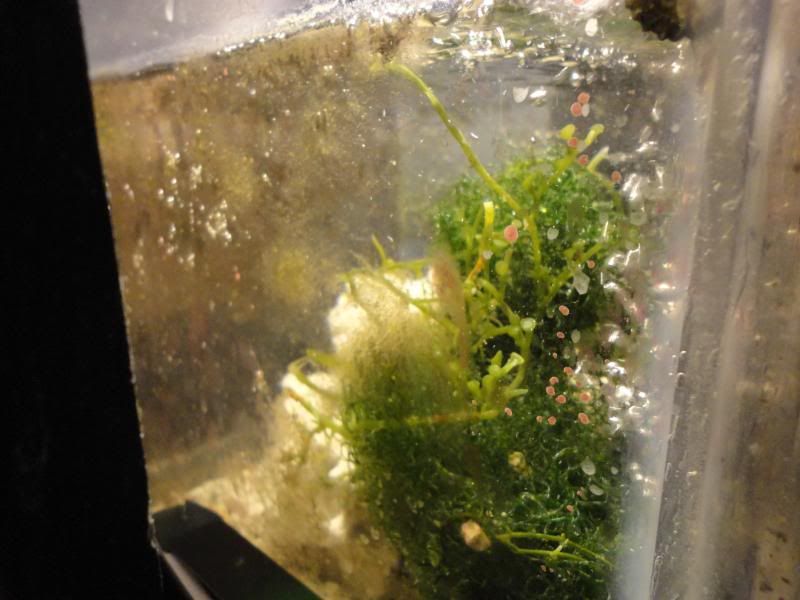
in my sump, i have my protein skimmer, filter sock with active carbon, cheato in fuge, heater, digital thermometer, and live rock/sand. The cheato is supplied with light from a clip on office lamp purchased at lows and high lumen flood light.


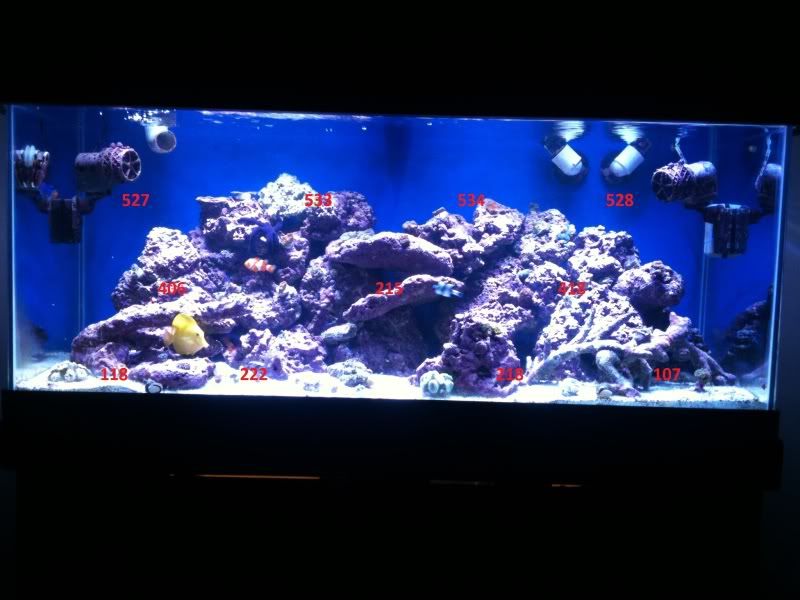
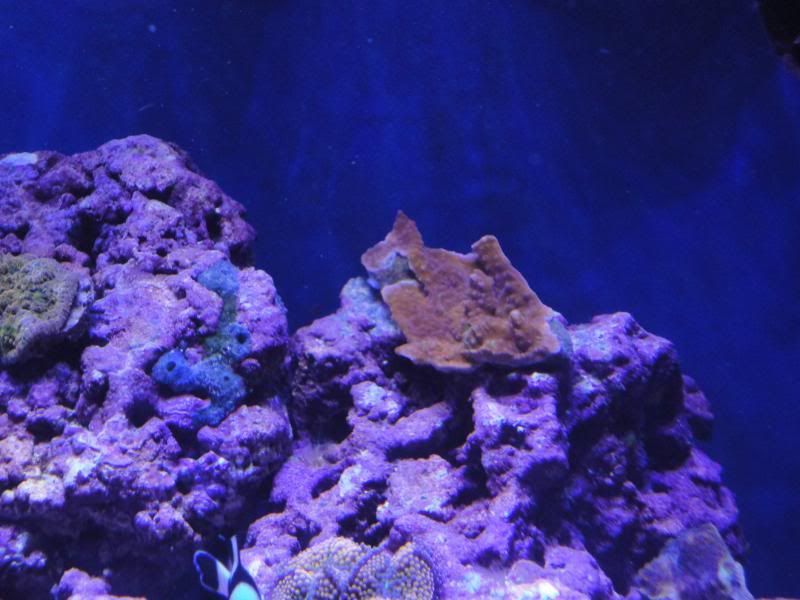
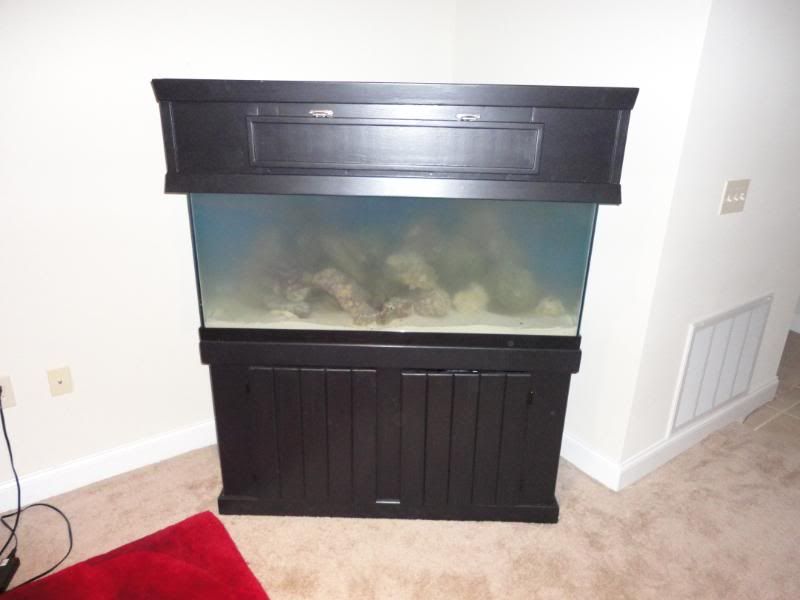
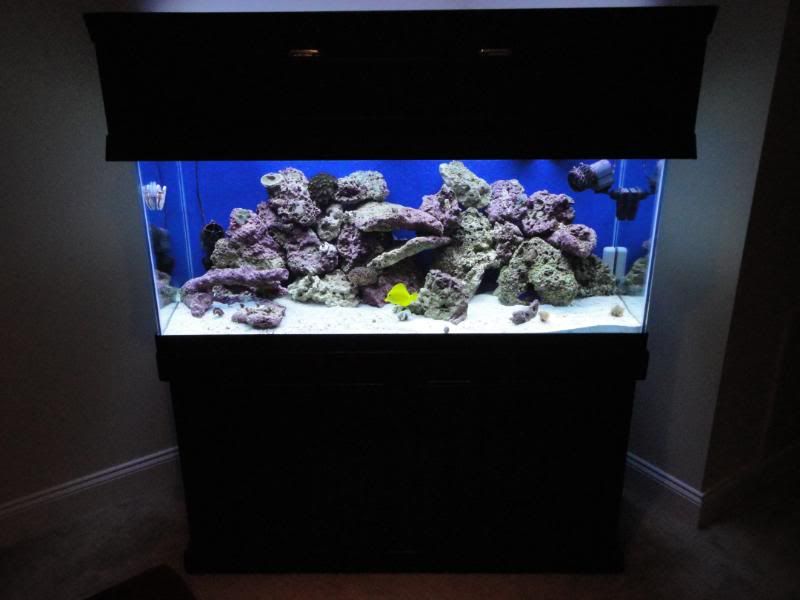
This is currently my tank as it sits in my living room 3 months later of its initial setup.

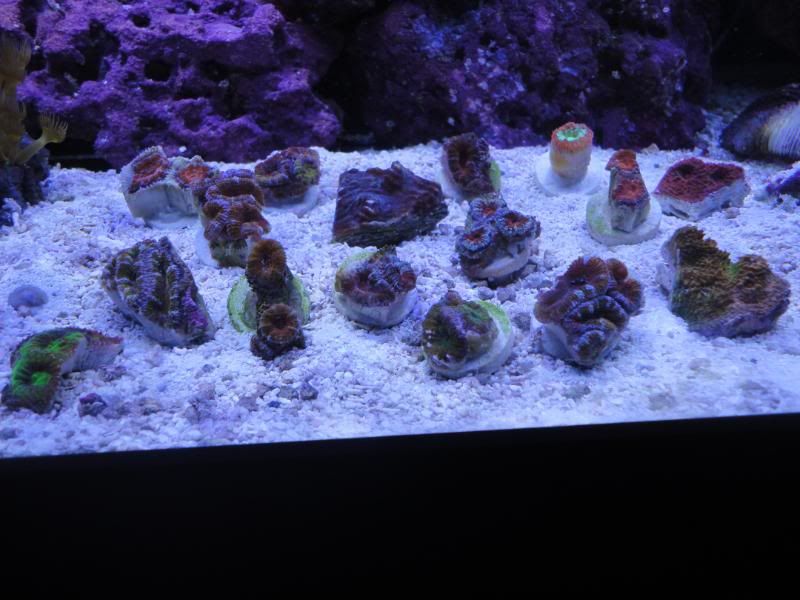
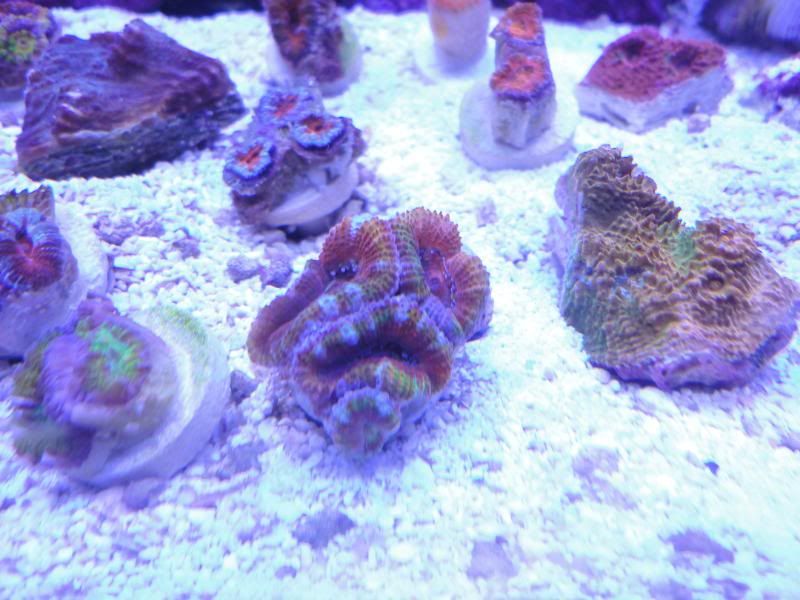
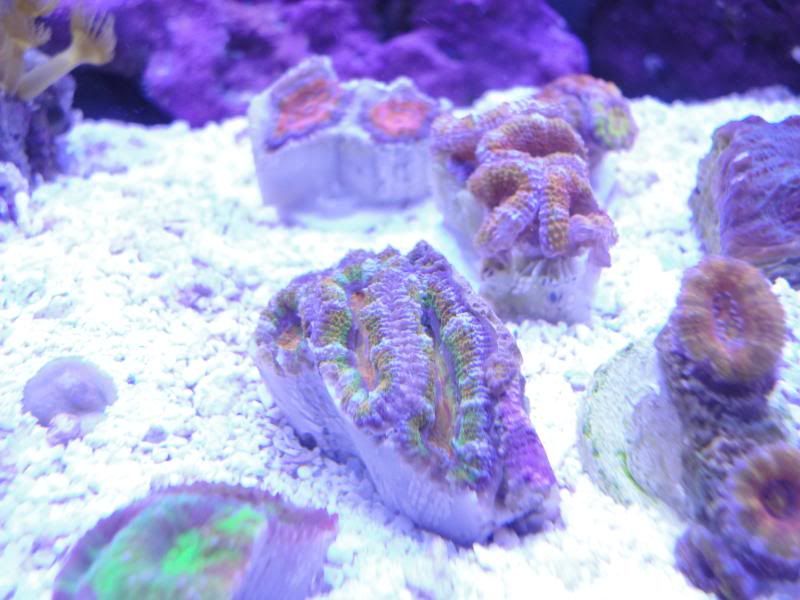
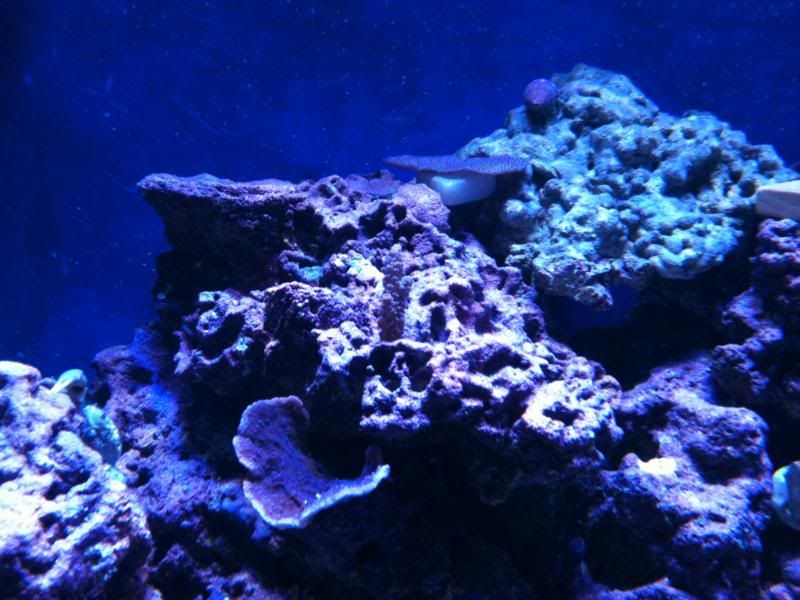
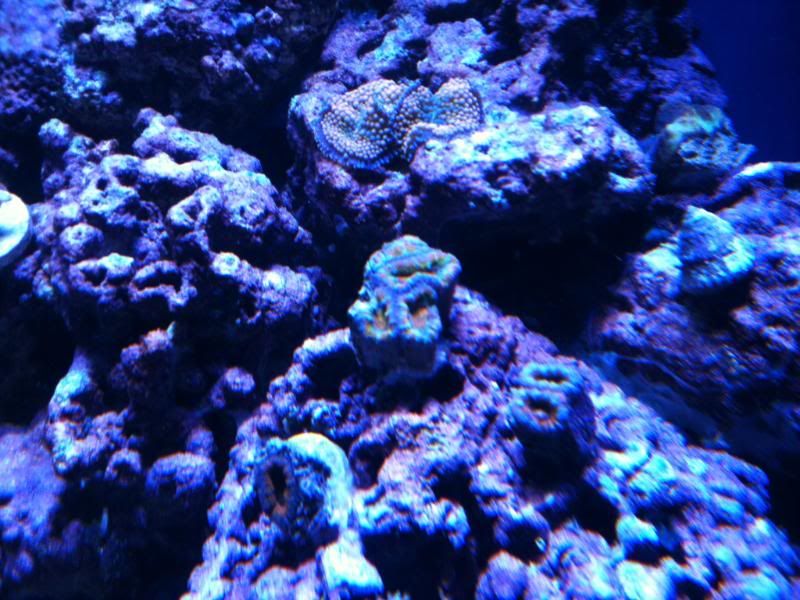
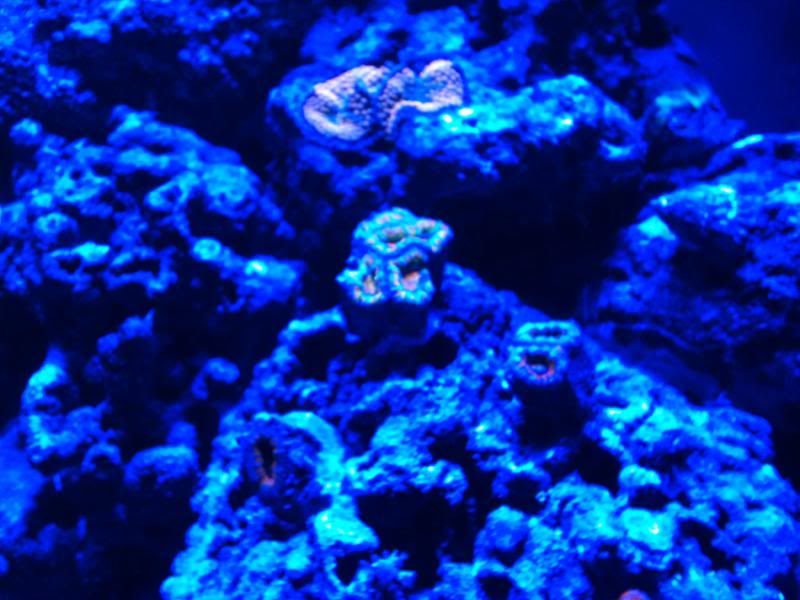
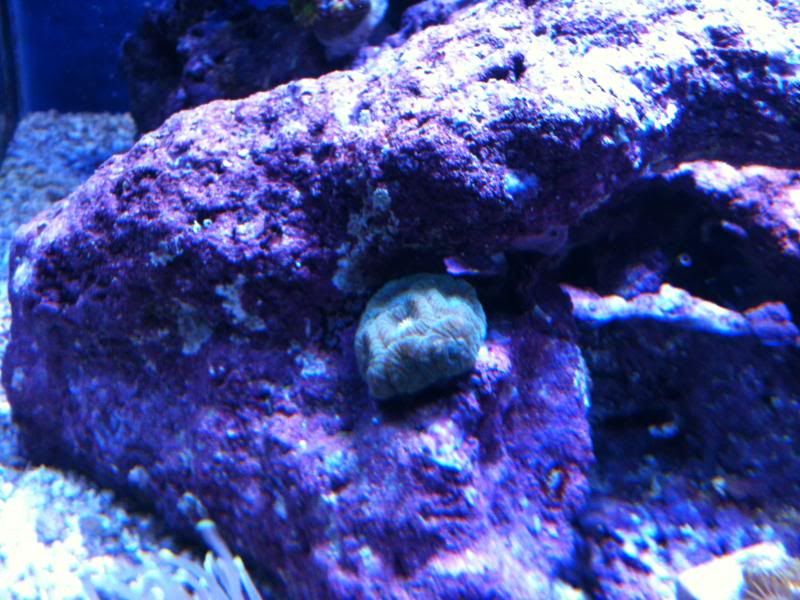
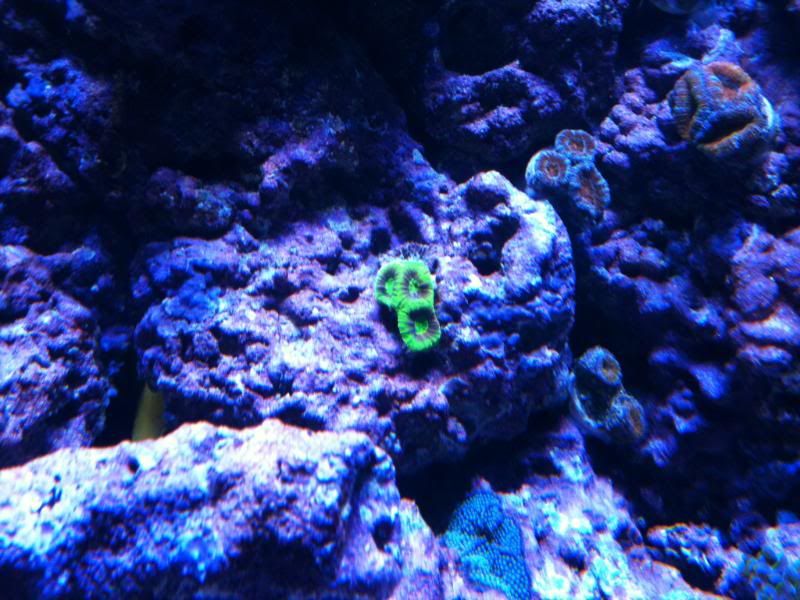
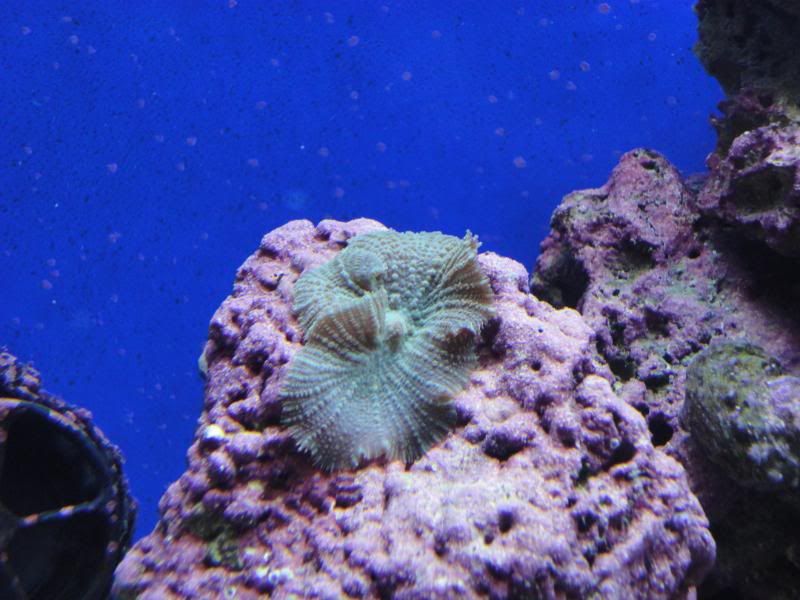
My corals and frags:
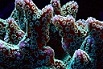
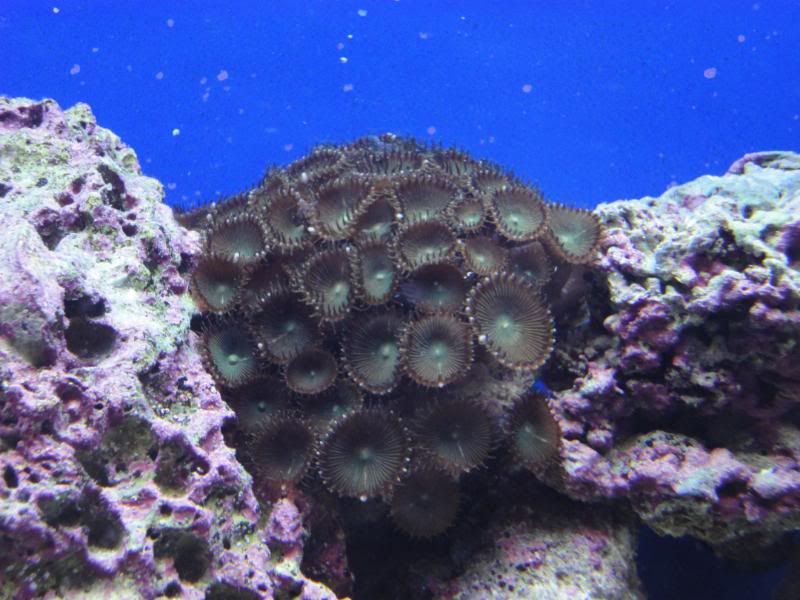
zoas and red and green candy cane
close up
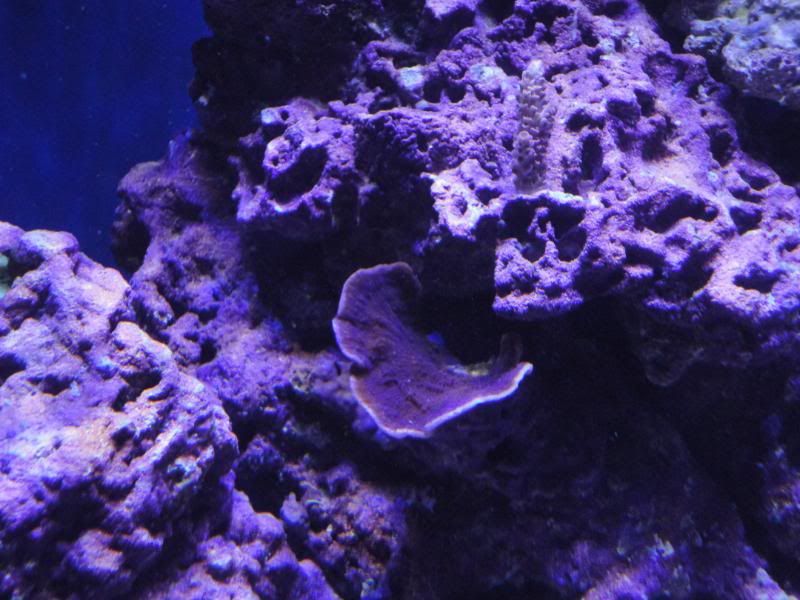
mushroom that is beginning to split (bonus on liverock from tj at innerarity reefs)
purple acro
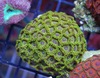
green button polyp
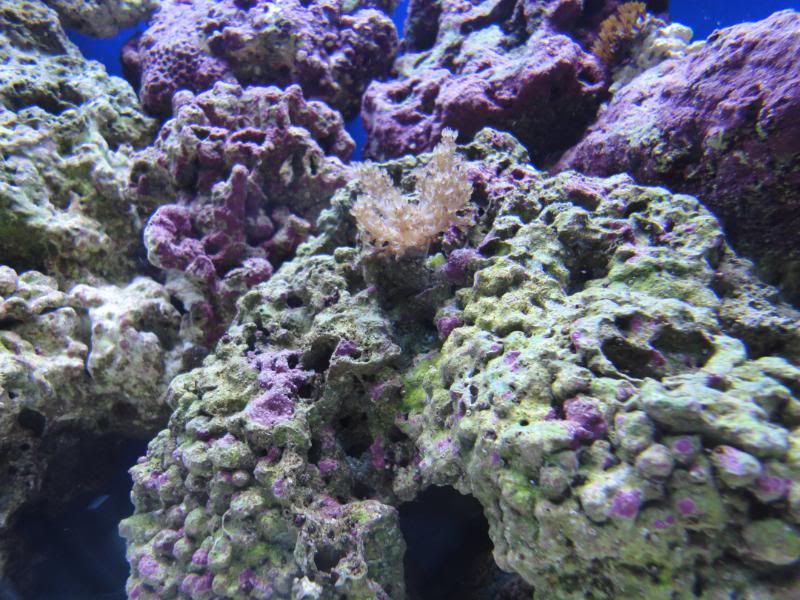
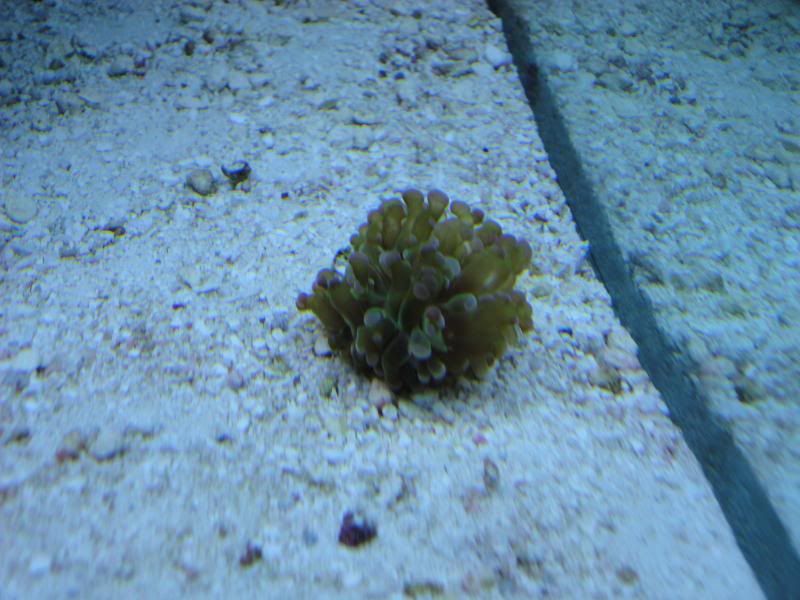
kenya tree (another bonus from innerarity reef)
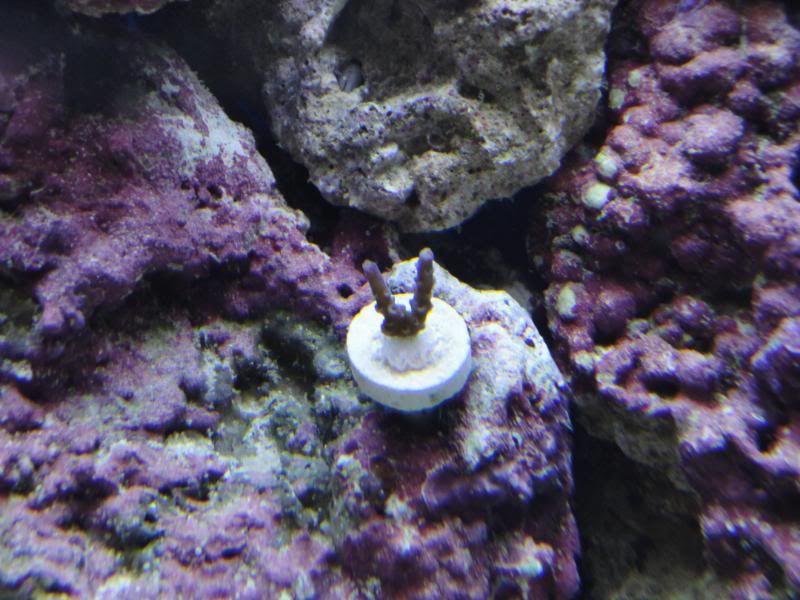
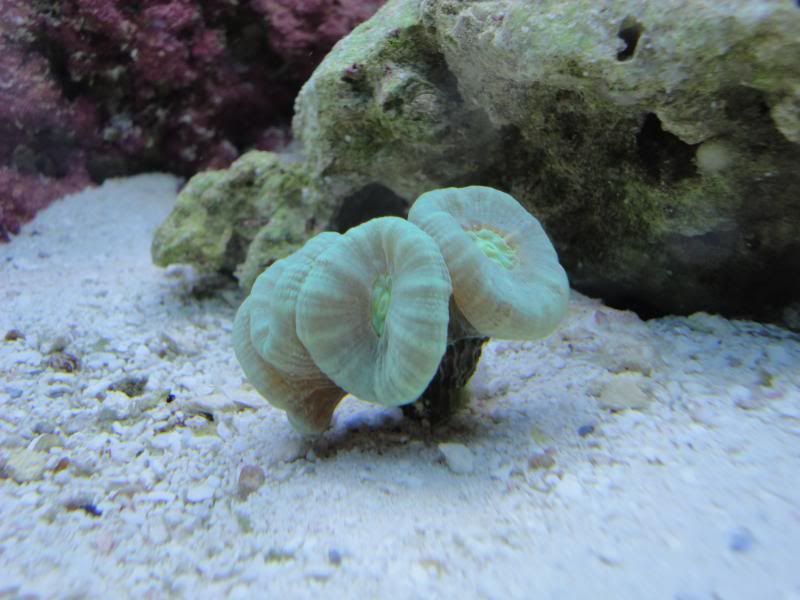
hammer coral
neon green candy cane
frogspawn
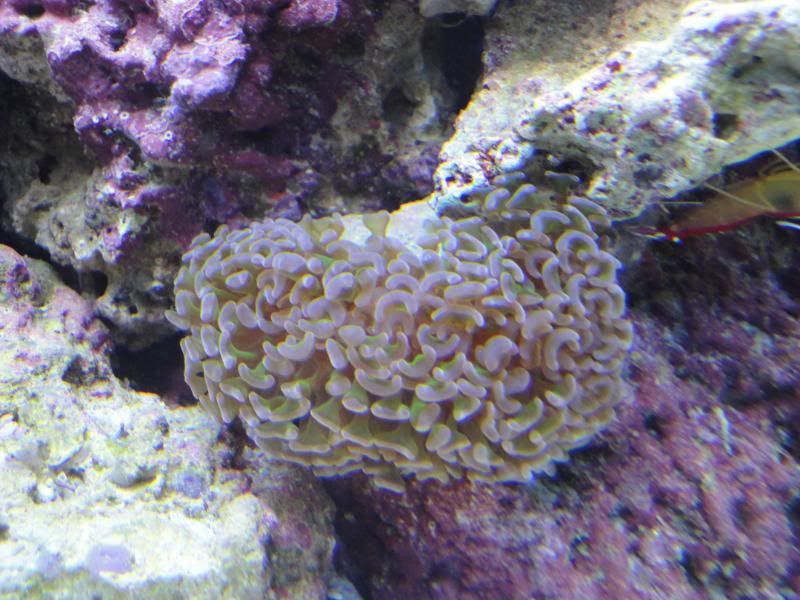
duncan

green star polyps (finally openning after 2 weeks...i pissed them off for sure)

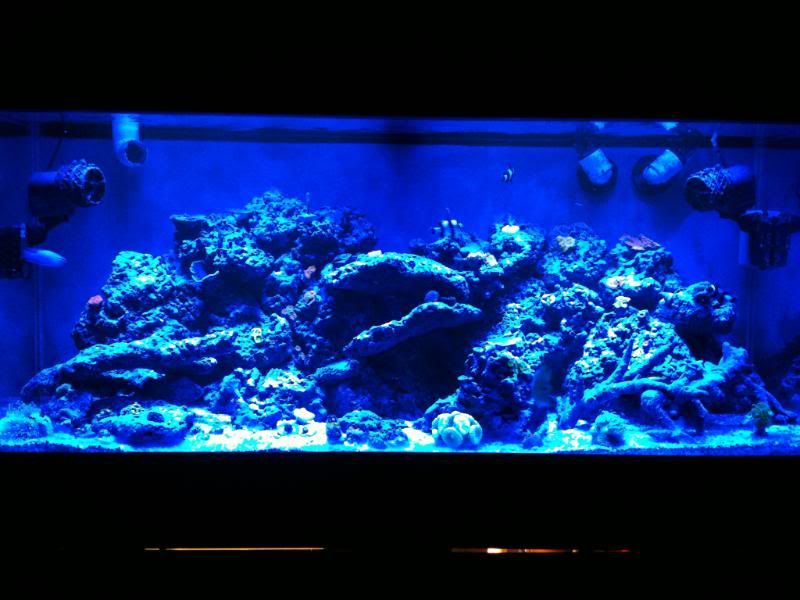
and the full tank shot:
I wanted to start this thread 4 months ago when i began everything but have been a little on the lazy side and am just not doing it. I would like to thank everyone that has helped me so far and i plan to continue updating this thread as my tank progresses. Id love to hear some input on what you guys think and any advice is always appreciated. My next purchase is a pair of clown fish and hopefully i will be able to stock a few more corals here soon as well as a few more fish. I am currently looking for a variety of mushrooms (i have green, want some reds, purples, pinks, oranges, and blues), ricordeas, toadstools, acans, chalices, larger mushrooms, bubbles, xenias, palys and zoas so please let me know if any of yall have some of these, what youre willing to sell them for, and when is best to come get them... Coral Donations are always accepted